
Recording Drums: Part 1 - Setting up and Microphone Technique

A full drum kit can be one the most difficult instruments to record successfully. It requires a great deal of patience and a skilful drummer to achieve excellent results. Don't let this discourage you, though, as your efforts will reward you with far more individual character than is possible with software or drum machine alternatives.
So How Do You Capture the Perfect Drum Sound?
The options and approaches, of course, are endless, and the seasoned sound engineer will have numerous microphone techniques developed over a number of years. For those of us with a little less experience, it's useful to start with some tried and tested methods for recording drums. Once you've learned the basics, you can adjust them to taste as your experience grows.
Setting Up the Drums
In all recording applications, good results start at the sound source. A poorly setup and tuned drum kit, will only ever produce a disappointing result; no matter what trickery you apply with microphone placement and mixing techniques. Make sure the kit and the drummer are in top form before proceeding with anything else.
Setting up and tuning drums is a real skill. It requires a deep understanding of musical styles and the mechanics of a drum kit – combined with a good ear – to get professional results. If you don't feel confident tackling this on your own, I'd highly recommend you consult someone who does. At the very least, conduct some research first; paying close attention to the kind of drum heads and how they're tuned. If your drum heads are old, they can be very difficult to tune, so you might want to consider replacing them first.
If you're still getting excessive, undesirable resonance after you've replaced and tuned the skins, it's worth considering specialist drum damper products, such as 'moongel'. Damper products should tackle any additional resonance and are particularly useful if you prefer a dry sound. Cymbals, on the other hand, are very difficult to control if you're unhappy with the tone. Therefore, the lesson here for drummers is clear: if you have a limited budget for your drum kit - spend it on cymbals first.
Room Acoustics
Once you're satisfied with how the drums sound, the next biggest influence on how your final recording will sound is the room it's in. Two very different approaches apply here: 1) Embrace the natural acoustic qualities of your room. 2) Control the room acoustics and apply synthetic ambiance later.
1) Natural Ambiance
There's no doubt that the best drum sounds are recorded in great sounding rooms. What might surprise you though, is that these spaces aren't necessarily pro studios. For example, Led Zeppelin famously recorded drums at the bottom of a 3 storey stairwell for their album 'Led Zeppelin IV'. The natural reverb – captured using microphones hung down the stairwell – was used to capture their signature stadium drum sound. Check out the drums on 'When The Levee Breaks' for example.
Whether or not you decide to let natural acoustics shine is a matter of personal taste, genre – and in certain cases – luck. For example, if you're recording drums at home, the kind of home you live in could be the deciding factor. Unfortunately, most home acoustics are less than stellar. However, if you're lucky enough to have an interesting sounding space – try experimenting and embracing the room.
2) Controlling Room Acoustics
If, like many of us, your studio acoustics are naturally uninspiring or detrimental to the recording - you might want to consider controlling rather than embracing them. (Think concrete walls in a garage for example). By reducing reflections using soft materials or specifically designed room kits, it is possible to turn even the most humble of recording spaces into a usable room. Once the basic dry sound is captured, you can easily add room character later on using software plugins. This more controlled approach also has the advantage of retaining control over the room sound right down to the final mixing stage. In other words, if you change your mind about the room ambiance later on, you can easily change it. The same cannot be said for natural ambiance.
Microphones
The kit is ready, the drums are tuned, and the room is sounding great; now it's time to capture your hard work with the appropriate microphone technique. Again, two very different approaches should be considered depending on a number of factors when deciding how to set up mics for drums.
1) The Drum Kit as a Homogenous Sound Source
First things first, this approach only works with a great drummer in a fantastic sounding room. The idea is to treat the kit as one entity; using a minimal amount of microphones. Typically, an experienced engineer will use just 2 overhead microphones with additional close mics – usually on kick and snare – to plug in sonic gaps. Much like our Led Zeppelin example mentioned earlier, this technique is particularly effective in capturing the attack and dynamic range of the drum kit.
If you decide this approach is right for you, it's best to start with the overheads. Most engineers use a couple of large or small diaphragm condenser mics to record drums and develop the sound from there. The wide dynamic range and sensitivity of condenser microphones make them ideal for capturing the wide frequency range and dynamics of a drum kit. If you prefer a smoother sounding high-end, then it's also worth considering ribbon microphones as an alternative.
When placing your overhead microphones in this application, you're aiming to achieve a well-balanced representation of the entire kit. Although there are no right or wrong ways to go about this, having some understanding of how the cymbals resonate will help you make an informed choice.
Cymbals radiate their sound above and below, whereas the hi-hat resonates horizontally. With this in mind, you can begin to imagine how a balance between drum and cymbal sounds can be achieved simply by moving the overheads. You can typically achieve a balanced sound of the kit with overheads placed between two and three meters above floor level, and either behind or in front of the kit.
A/B vs X/Y - There are two main microphone techniques to consider for overhead configurations. The most common is referred to as the A/B technique, or spaced pair. This approach involves 2 mics positioned to the left and right of the kick, which helps pick up much more of the room sound with a wide stereo image. The second approach is a technique called X/Y configuration. The X/Y technique presents fewer phasing problems as the capsules are closer together, but gives you less control over balance and image of the individual elements of a kit. You might find that X/Y works better for you in close-mic drum applications, but it's important to experiment when finding a sound that works best for you.

Once you're happy the overheads are capturing a good balanced sound, you can now begin to add spot microphones to support or emphasise certain parts of the kit. In almost all circumstances, you'll want to give the kick drum some more weight, and in some cases, the snare can also benefit from additional support. Consider using a purpose built kick drum mic to boost the bass drum and either a dynamic or condenser to emphasise the snare. Close micing individual drums will be covered in more detail as part of approach number 2, which looks at a more surgical approach to recording drums, by close micing almost every element of the kit.
2) Close Micing a Drum Kit
While the minimal approach described above captures a pure and dynamic sound, close micing comes with its own distinct advantages and can even be the preferred approach for certain genres of music. The close-mic approach can give you a drier, more intimate sound, with greater separation and control. If your room acoustics aren't up to scratch or you have a drummer that isn't great at controlling dynamics - the close mic approach will likely produce better results.
Here are some examples of how to mic each piece of a typical kit:
Overheads - Once again, it's best to start with the overheads as a base from which you refine. In a close-mic multichannel drum recording application, you'll likely find that the overheads work better closer to the kit than you might otherwise try in our first, more minimal approach. As the overheads will primarily be used to capture cymbals, it's better to place the overheads directly above the kit. Under the X/Y technique described earlier, you'll achieve the best results when overheads are placed directly above the snare with each mic pointing left and right respectively. The X/Y techniques inherent phase coherence is particularly valuable when using lots of mics on a single kit. If you do decide to try the A/B technique, be sure to listen carefully for phase problems. Phase problems are a whole separate topic, but, in short, try flipping the phase inversion switch on one channel if your mixer or audio interface allows. Listen for which setting sounds 'fuller' or 'stronger' and select that option. If neither sounds good, you might have a phase problem and will need to experiment further with mic placement for a better result.
Kick Drum - The vast majority of kick drums are recorded using a dynamic microphone, and ideally using one that's purpose built for the job. Purpose-designed kick drum microphones have a tailor-made frequency response designed to compliment the low-frequency power and the attack of kick drums. They are also particularly adept at handling high sound pressure levels.
Microphone techniques for kick drums vary greatly from engineer to engineer and from genre to genre. As a general rule of thumb, placing your mic inside the kick drum and pointed towards the beater will capture lots of attack, while positioning further back – or even outside the drums resonant head – will increase low-frequencies. For the best of both worlds, many engineers prefer to balance the attack and low-frequency tone using both mic techniques in combination.
Resonance - Miking up a kick drum can often reveal unwanted resonance when you monitor the result, if this proves to be the case, try placing a pillow inside the drum kit to help dampen any ringing and provide a tighter sound.

Snare - The jury is still out on whether a dynamic or condenser works best for snare drums, and much will depend on style and taste. However, the SM57, a dynamic studio stalwart, has been one of the most popular snare mic choices for decades for good reason.
By far the most common approach is to use two microphones: with one placed above the snare to capture the 'crack', and the second placed beneath to give you more 'fizz'. Once again, whenever two microphones are used to capture the same sound source, phase coherence can become problematic. With a snare drum, the phase relationship between top and bottom is invariably out of phase, so you'll want to flip the phase switch on one channel.
As for dynamic vs condenser microphones on snare drums, the general consensus is that dynamic mics capture weight and body, with greater isolation from other drums. Condenser mics on the other hand, will reveal far more subtlety in the drummers performance and capture more high-frequency detail for a crisp, punchy tone. A condenser, of course, will not handle high sound pressure levels as well as a dynamic mic; so be sure to check levels and apply a pad at the mic or pre-amp if necessary.
In any case, the mic should be positioned close to the edge of your snare for the best harmonic complexity, but secondly to protect the mic from being hit! When considering distance, placing the mic a good 4 inches away from the snare and angled toward the center will ensure you capture the whole drum sound, with a clear and punchy attack.

Toms - Cast your mind back to our minimalist drum mic approach, and you'll recall that the toms are rarely close miked. This is because if you've set your overhead microphones effectively, the toms should be clear and well balanced with the rest of the kit. Saying this, for certain genres – particularly modern rock or metal – everything is close miked, and this includes the toms.
Much like the snare drum, using a dynamic mic will deliver a full, fat sound, with less spill. Traditionally, dynamic microphones have dominated for tom-tom applications, and the primary reason is almost certainly spill. Think about it like this: The more mics you have, the more spill. The more spill, the less control, and the harder it becomes to balance the kit.
There is, however, always two sides to every story. Over time, the introduction of purpose-built, discreet condenser microphones have made it much more practical for engineers to harness the superior transient response of condenser mics, without risking damage to their favorite mic. As with any microphone selection, listen and experiment to find what works for your genre or song. For more on dynamic vs condenser mics on toms, check out our previous post on the topic.
Hi-hat - I've left this piece until last, because typically, a well placed pair of overheads should be more than enough to capture a nice crisp hi-hat. If you do find a little extra attention is needed, try placing a pencil condenser mic roughly 10 - 15 cm away and pointing directly down at the edge on the far side, away from the snare.

Bringing the Kit Together
Once you have all the microphones in place, it's important to check phase relationships between each channel. Failure to do so can result in a weak sounding recording. The kick drum will spill into other microphones more than other elements of the kit, so it makes sense to start with this as a reference point.
Monitor carefully with a high-quality pair of headphones and check the phase as follows:
- Have the drummer play the kit just as they would during the recording.
- Fade up the kick drum
- Fade up each individual track in turn and flip the phase polarity
- Listen for which setting sounds 'bigger' or 'fuller'
Pay particular attention to how your kick and snare sound together as this will form the backbone of your beat. The overheads are also important, but less important in context with the kick if you're working on a close-mic model for recording drums. The reason for this is that you'll likely apply a heavy dose of low cut to overheads during the mixing stage for close-mic applications; allowing the individual kick and snare mics to carry the burden.
More on Phase Issues & How to Avoid Them Using The 3 - 1 Rule
Phase cancellation happens when two microphones are receiving the same soundwave but with opposite pressure zones. When it is necessary to use multiple microphones, phase problems can be minimised by using the 3-to-1 rule. For multiple microphones the rule states that the distance between microphones should be at least three times the distance from each microphone to its intended sound source. As a result, the sound picked up by the more distant microphone should be at least 12dB less than the sound picked up by the closer one. This guideline helps to reduce the audible effects of phase cancellation to a manageable level.
The Bottom Line
When all is said and done, recording drums is a major challenge. The importance of room acoustics and the use of multiple microphones to capture a diverse range of sounds requires a substantial amount of patience, knowledge, and perseverance to obtain first-class results. Nevertheless, in a world where programming a convincing, real sounding drum track is possible using software alone - the sound of real drums could be just what you need to set your recordings apart from the crowd.
We hope the information in this miking guide has helped to provide you with a platform to from which to grow. The next step, of course, is to put your hard word into action by recording and mixing your drums. Learn more how to use EQ, gating, compression and more for drums below.

Related Products and Accessories
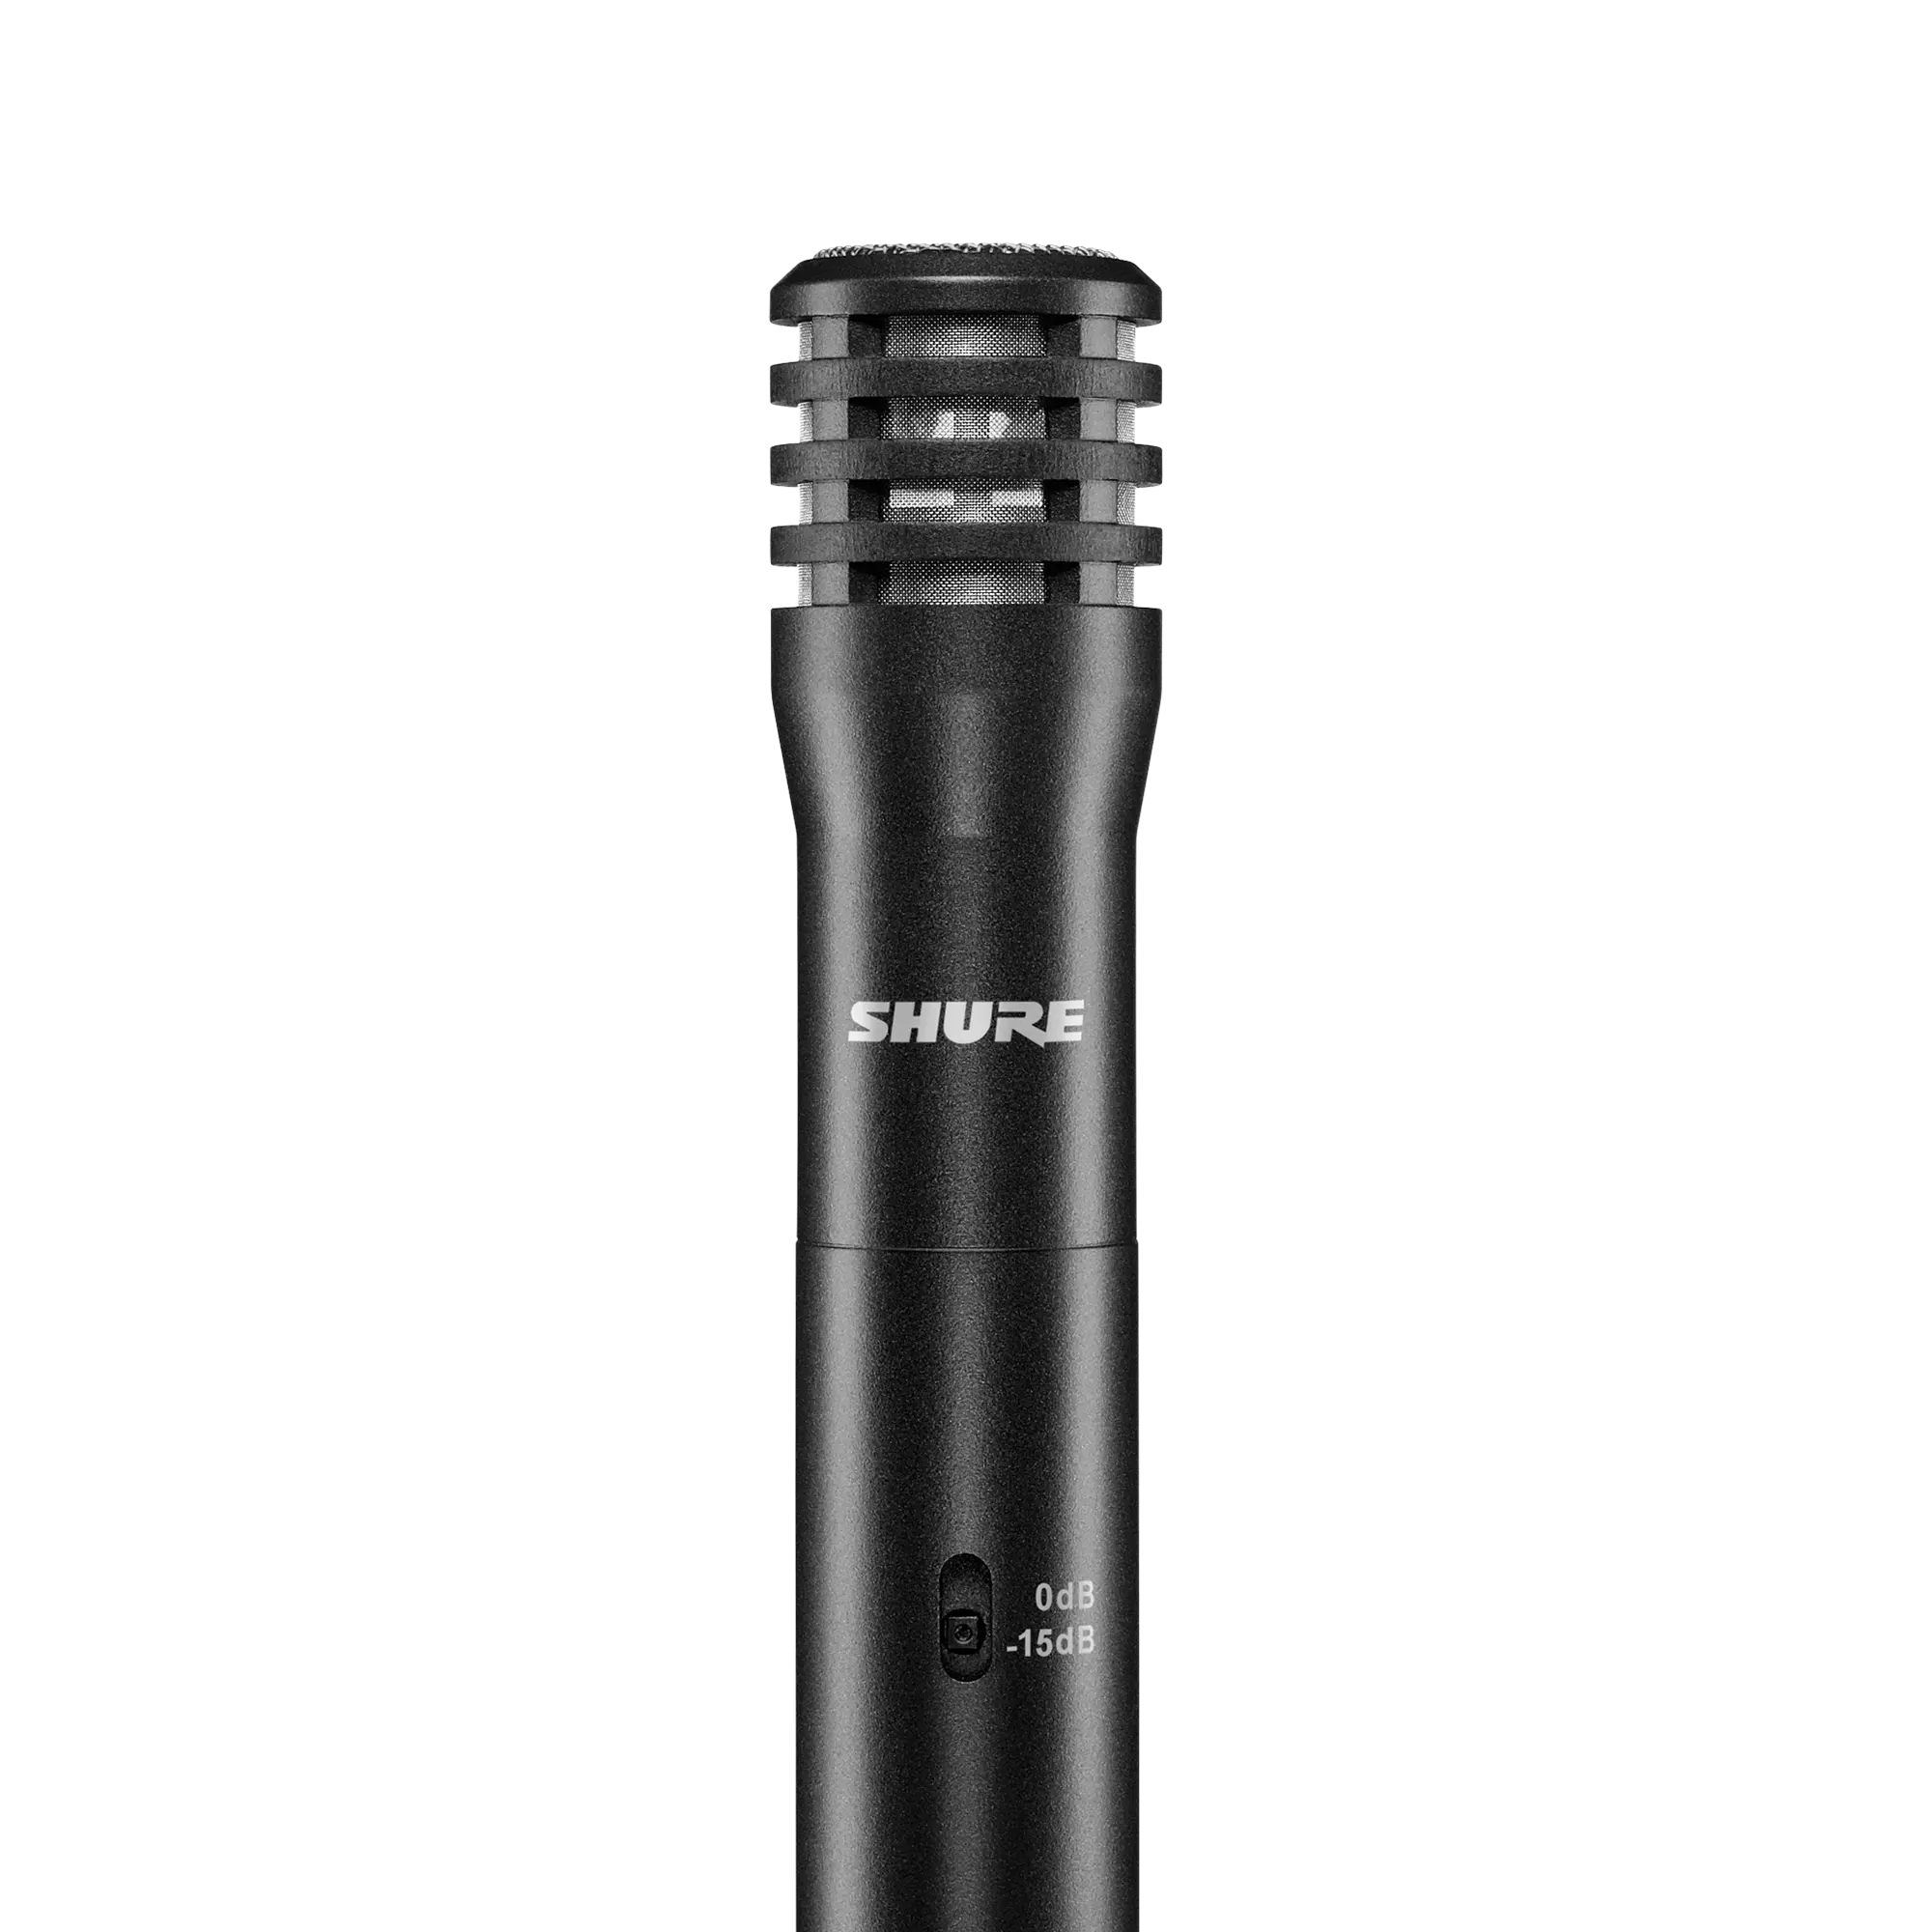 SM137Professional Instrument Condenser Microphone
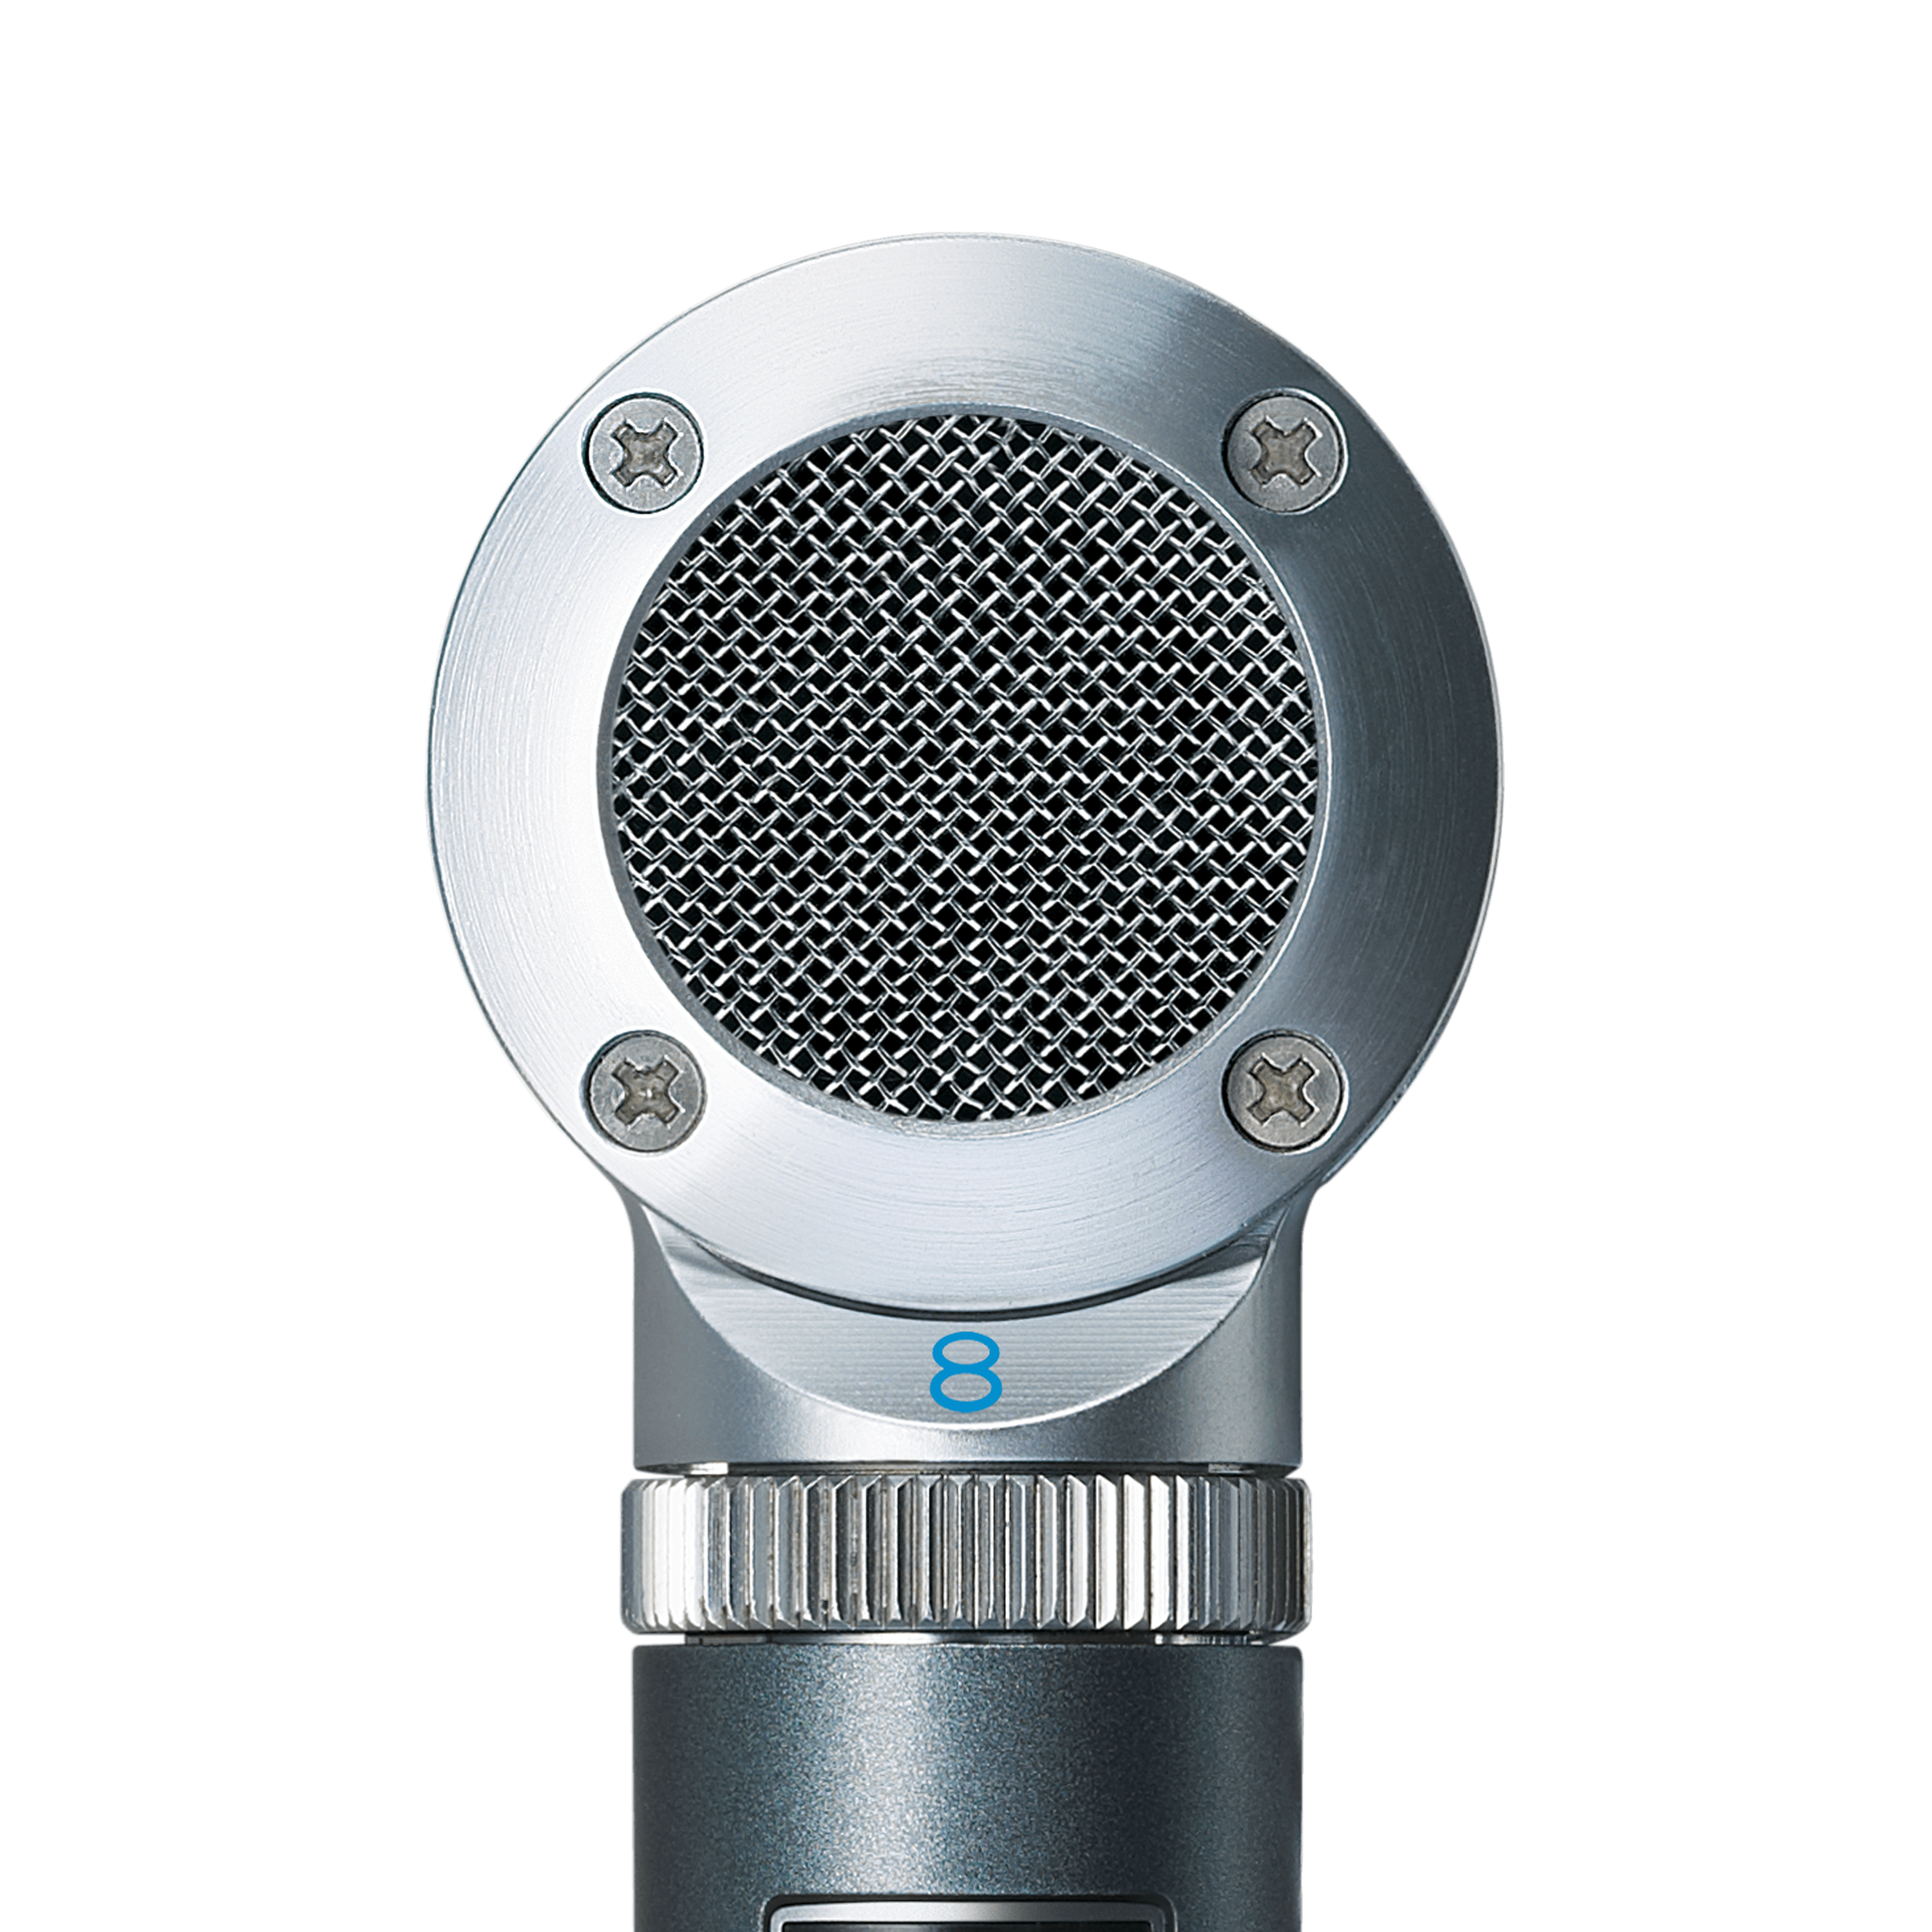 BETA 181Side-Address Condenser Microphone with interchangeable capsules
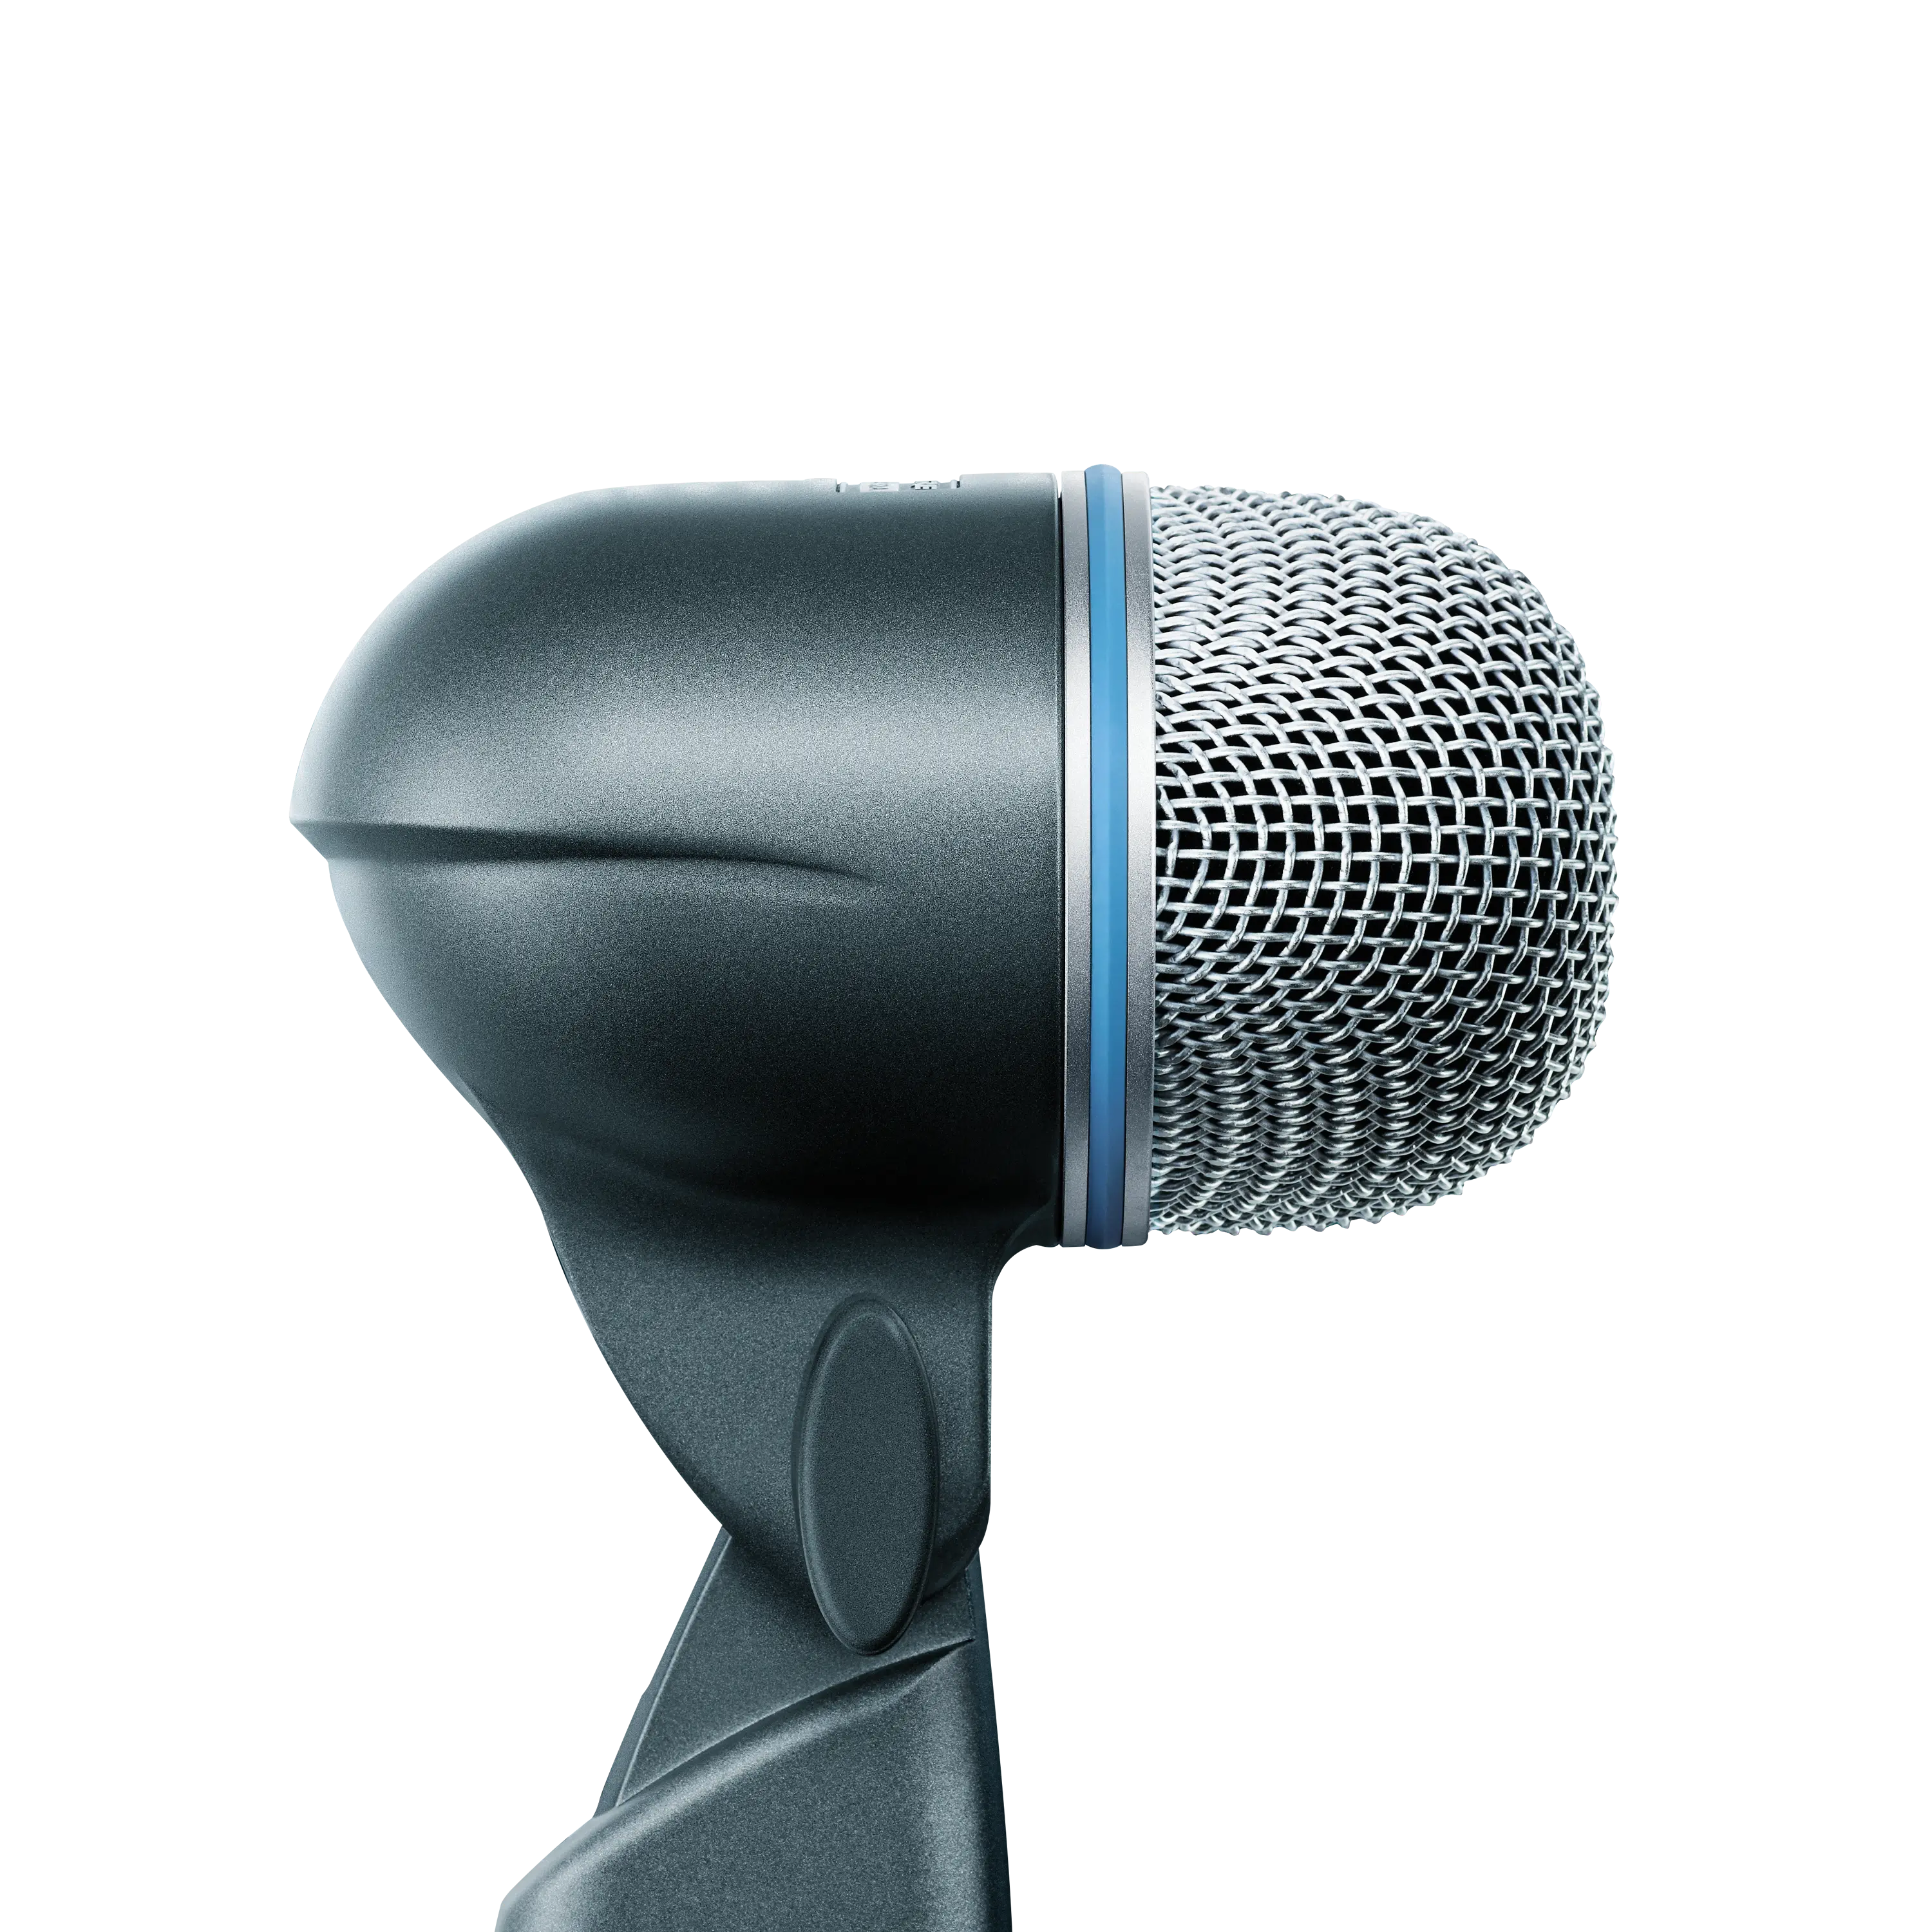 BETA 52AKick Drum Microphone
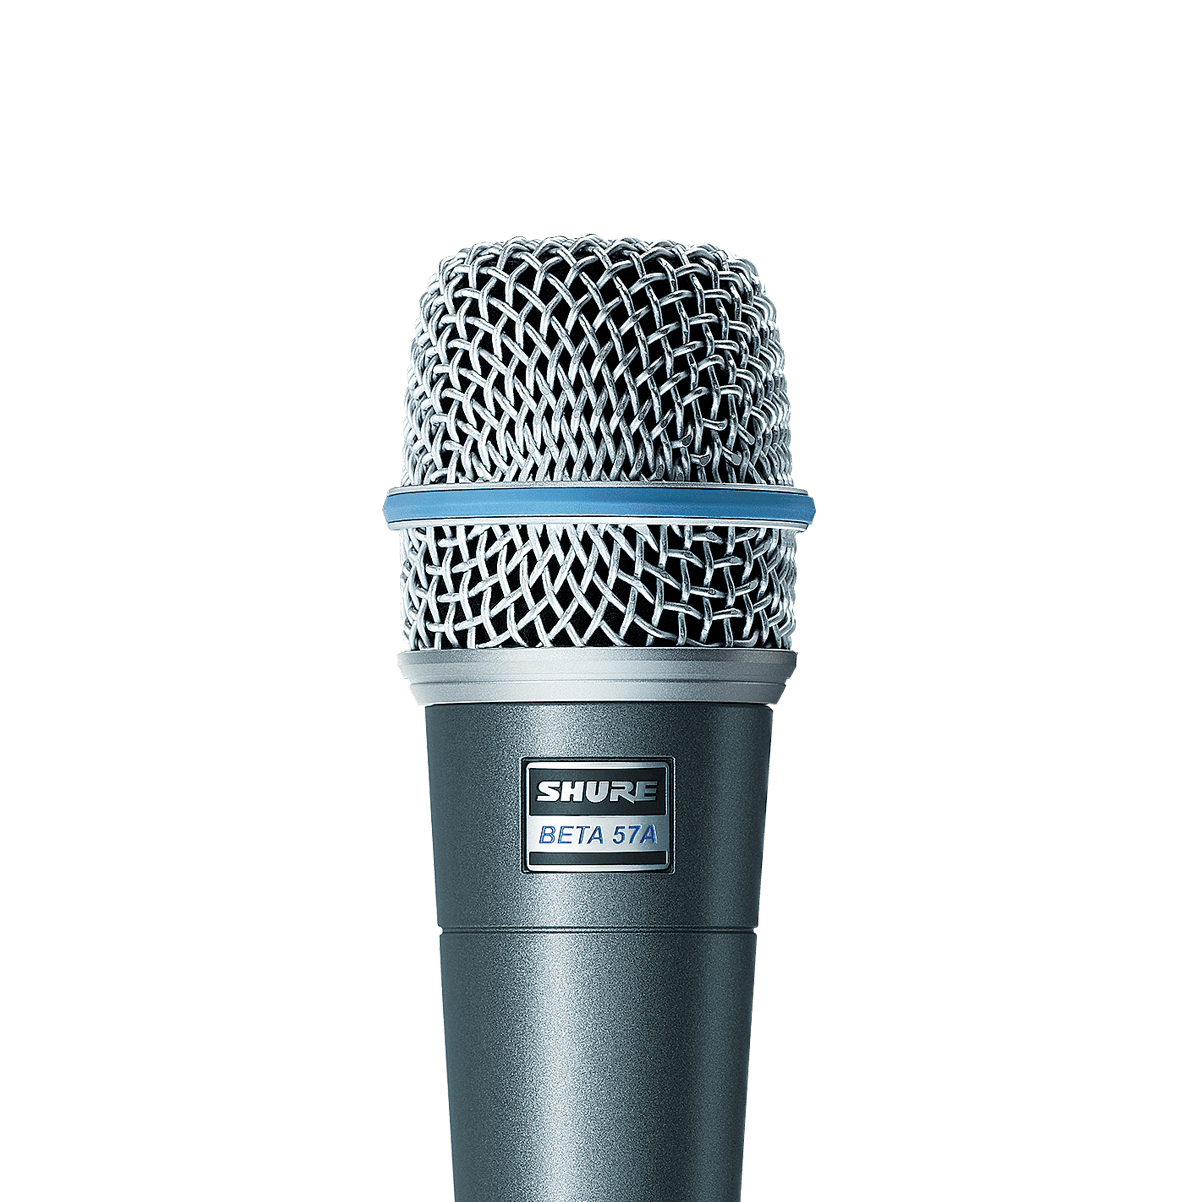 BETA 57ADynamic Instrument Microphone
 BETA 91AKick Drum Microphone
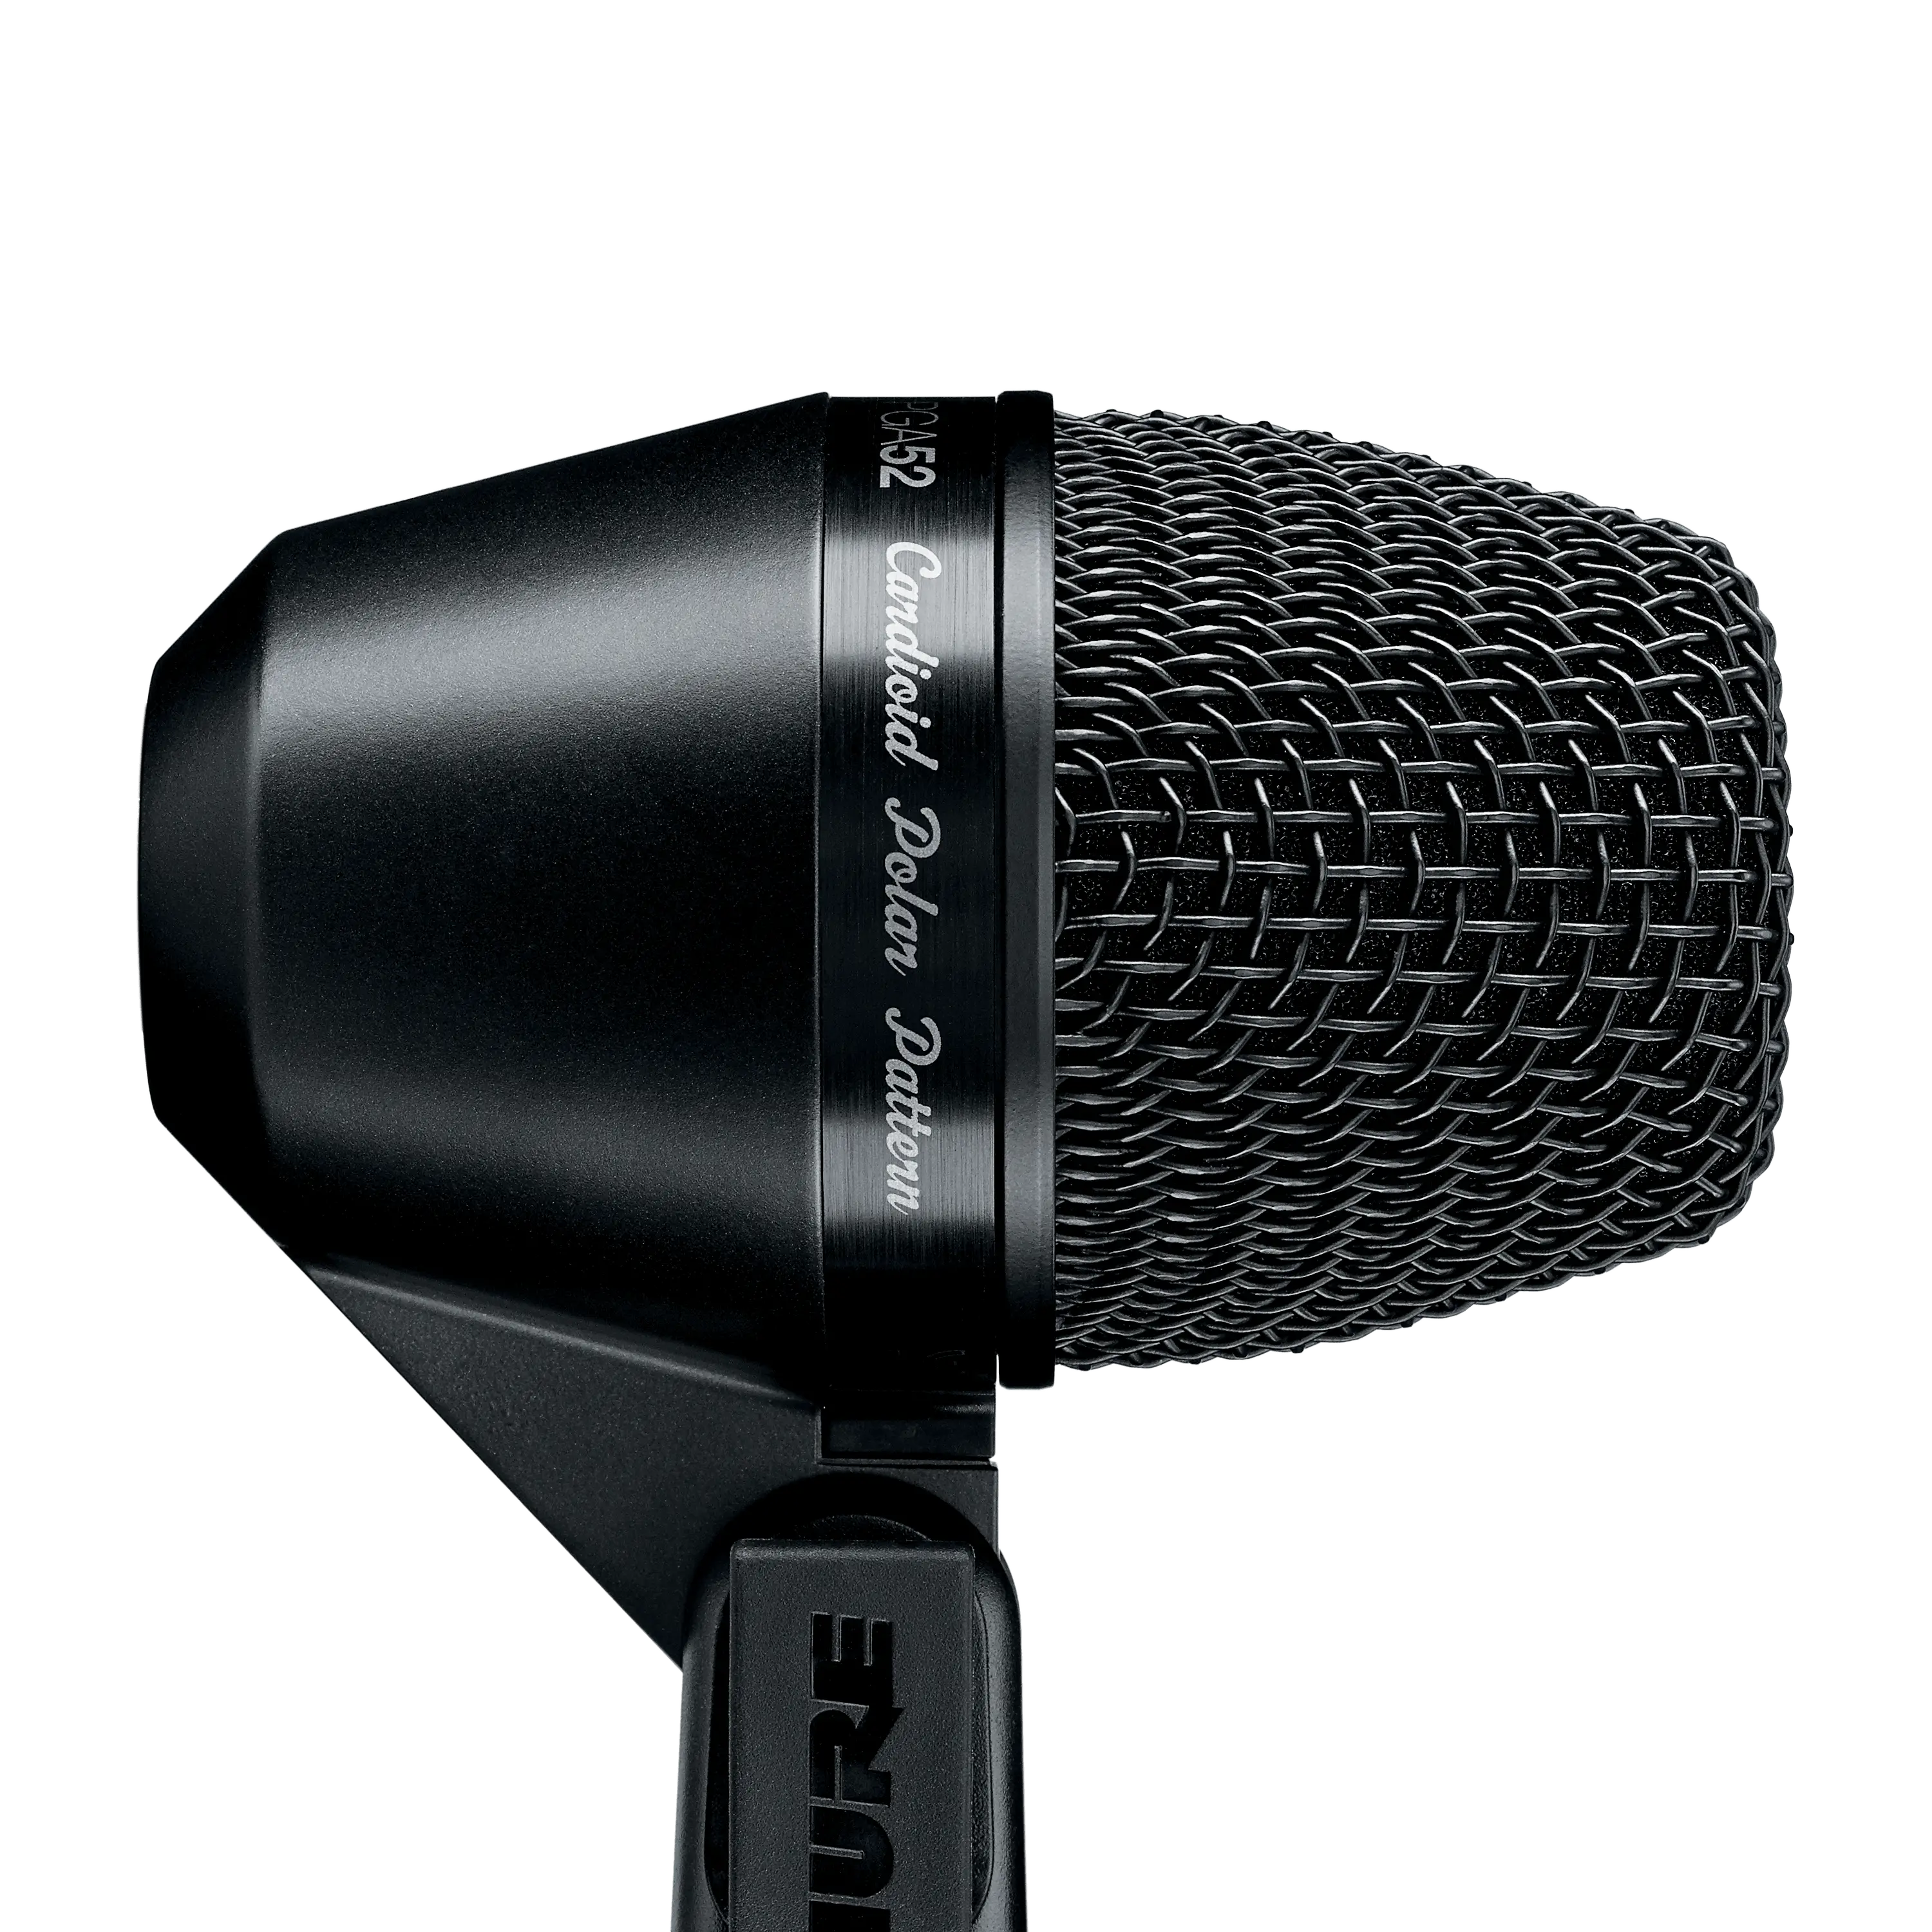 PGA52Cardioid Dynamic Kick Drum Microphone
 PGADRUMKIT5PGADRUMKIT5 Drum Microphone Kit
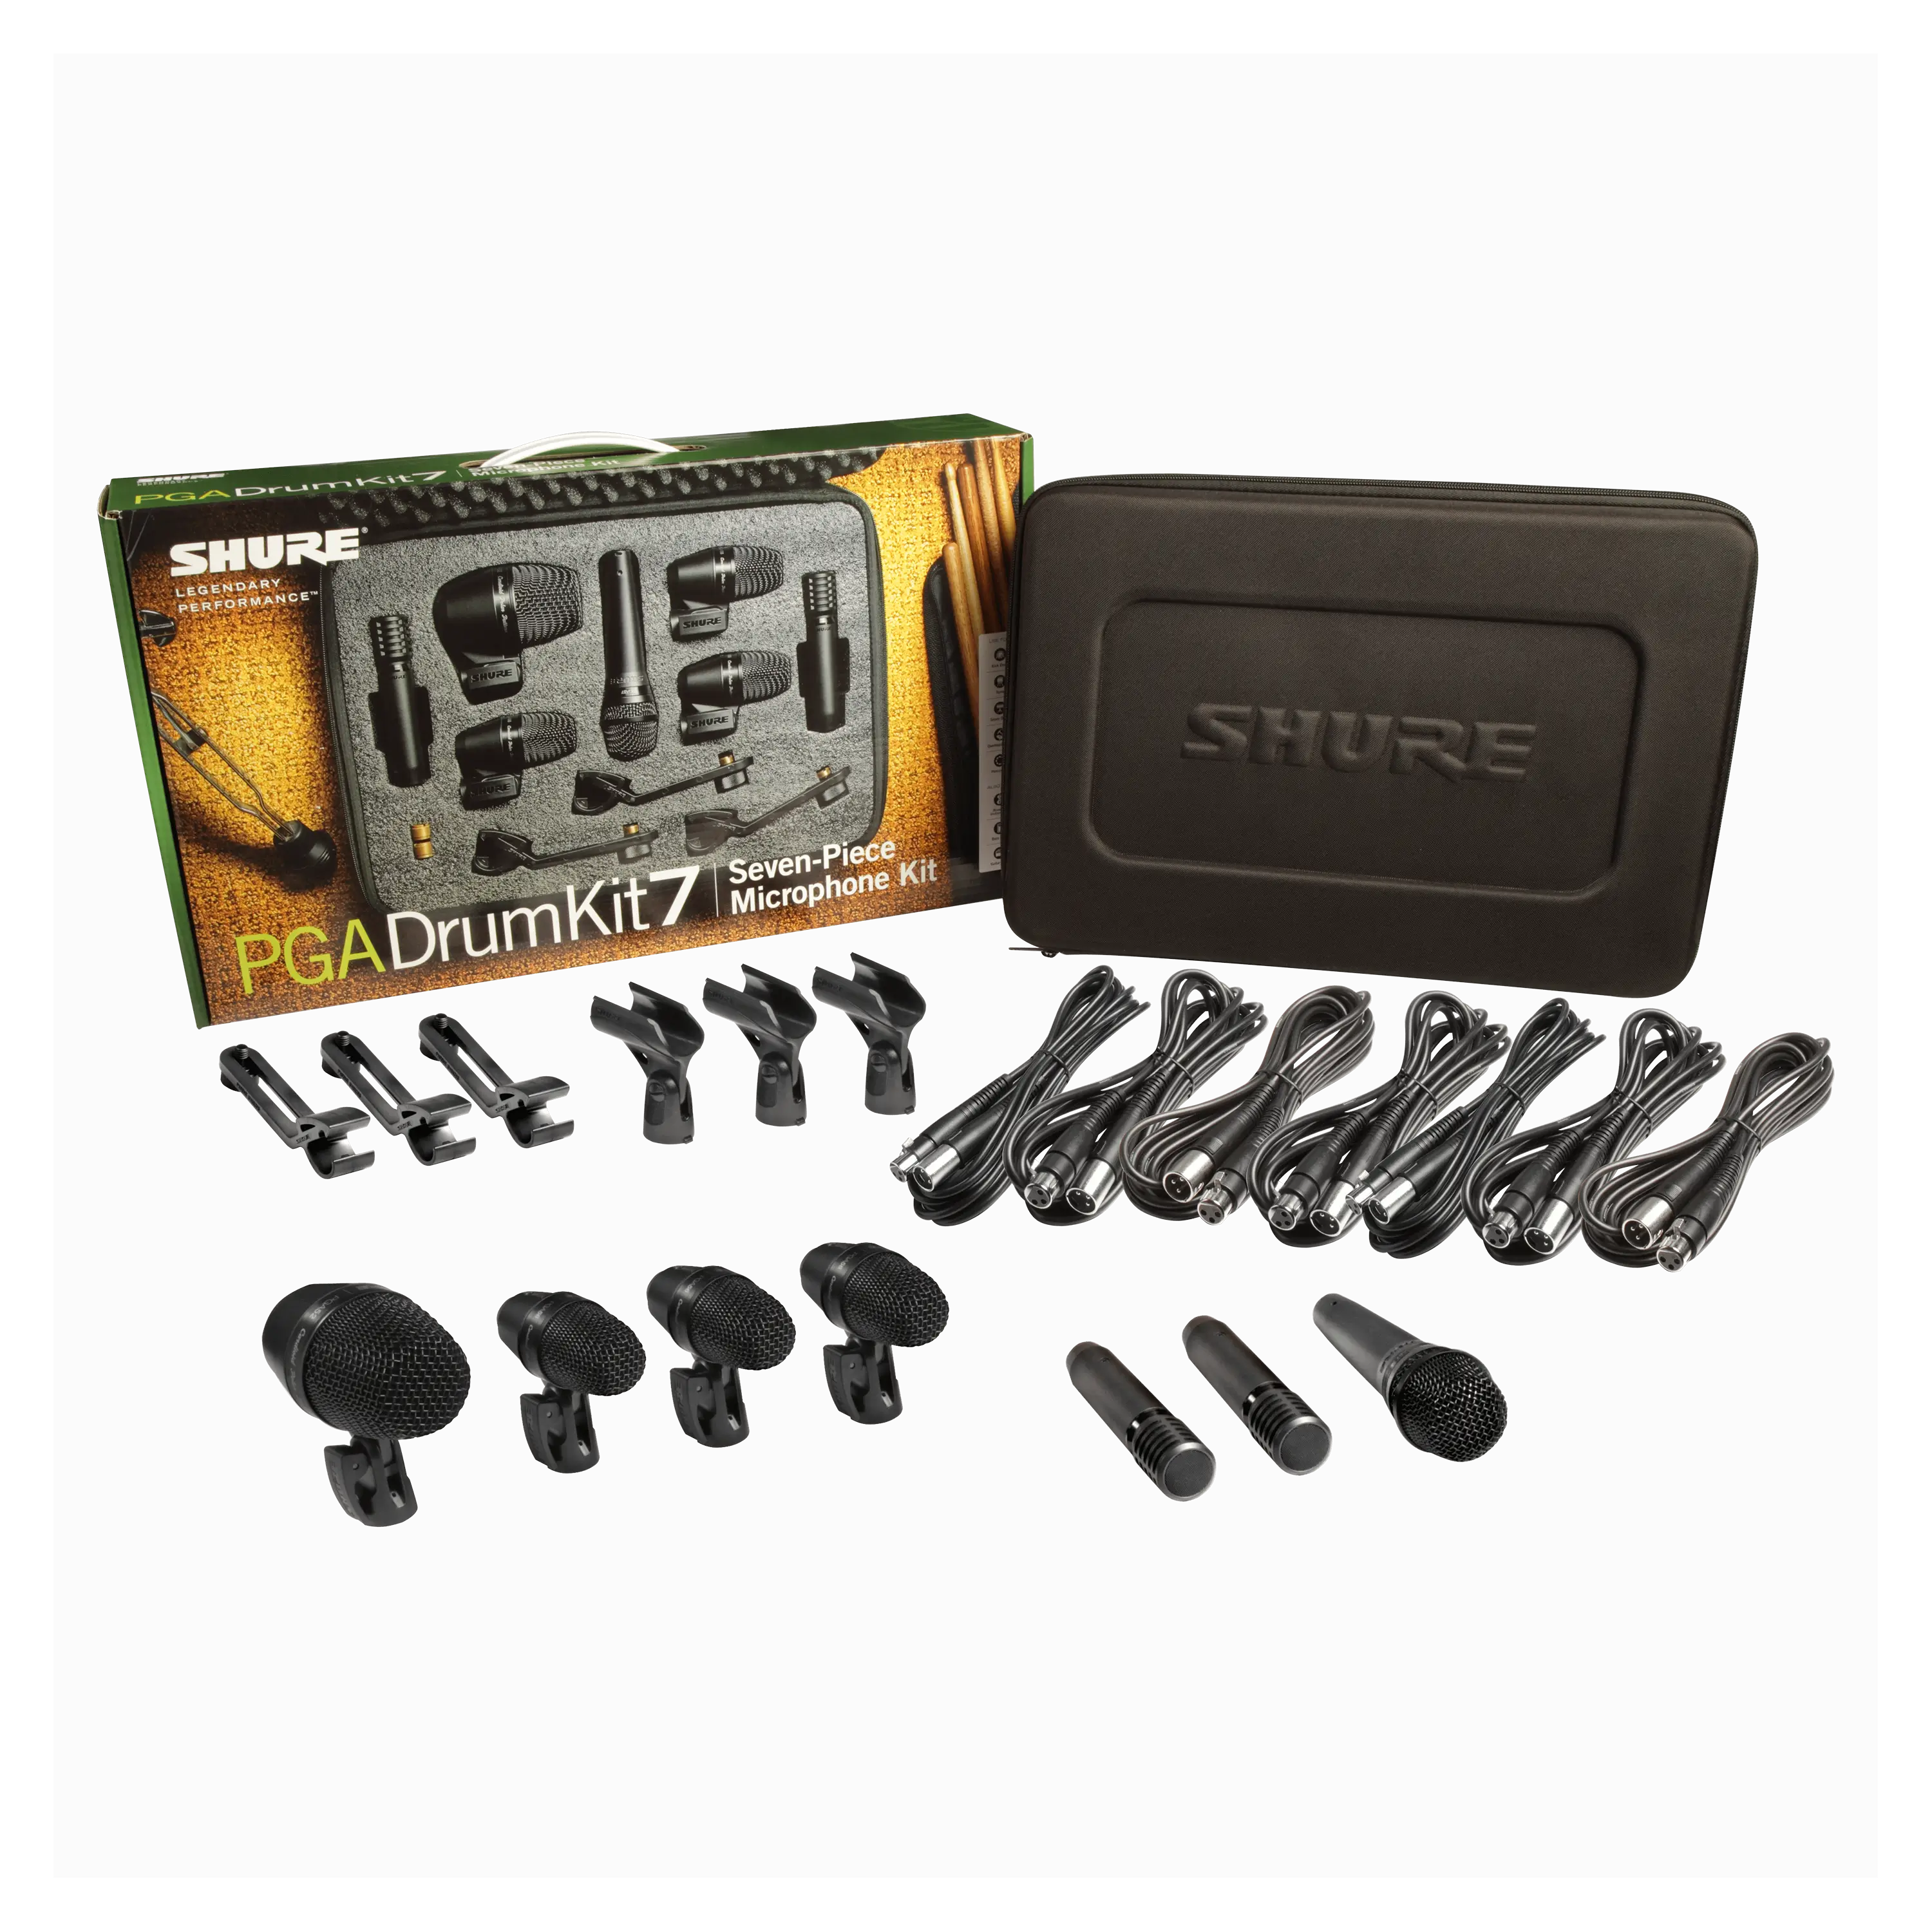 PGADRUMKIT7PGADRUMKIT7 7PC DRUMKIT PGA52, 57, 56(X3), 81(X2)
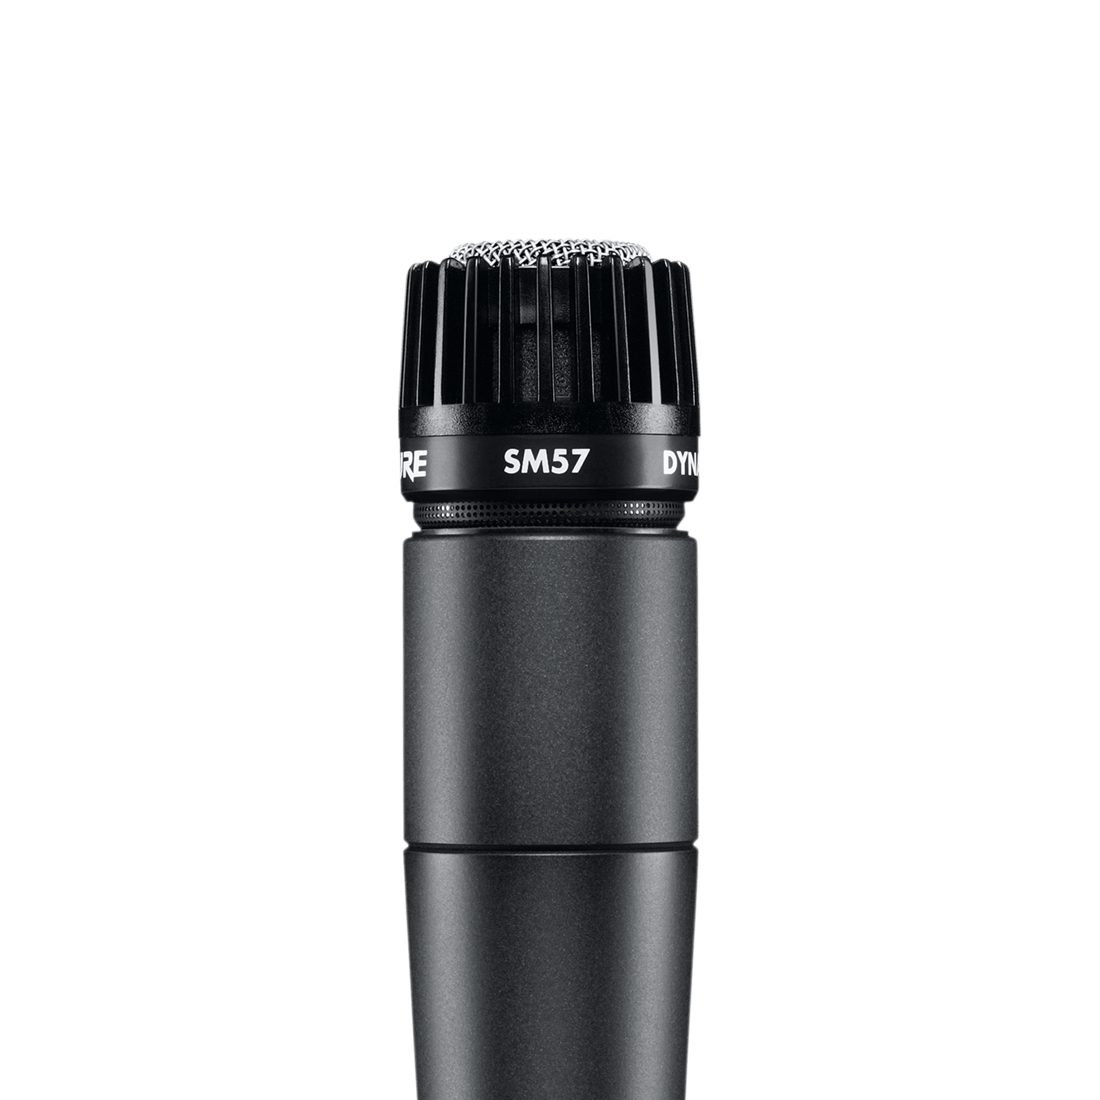 SM57Instrument Microphone
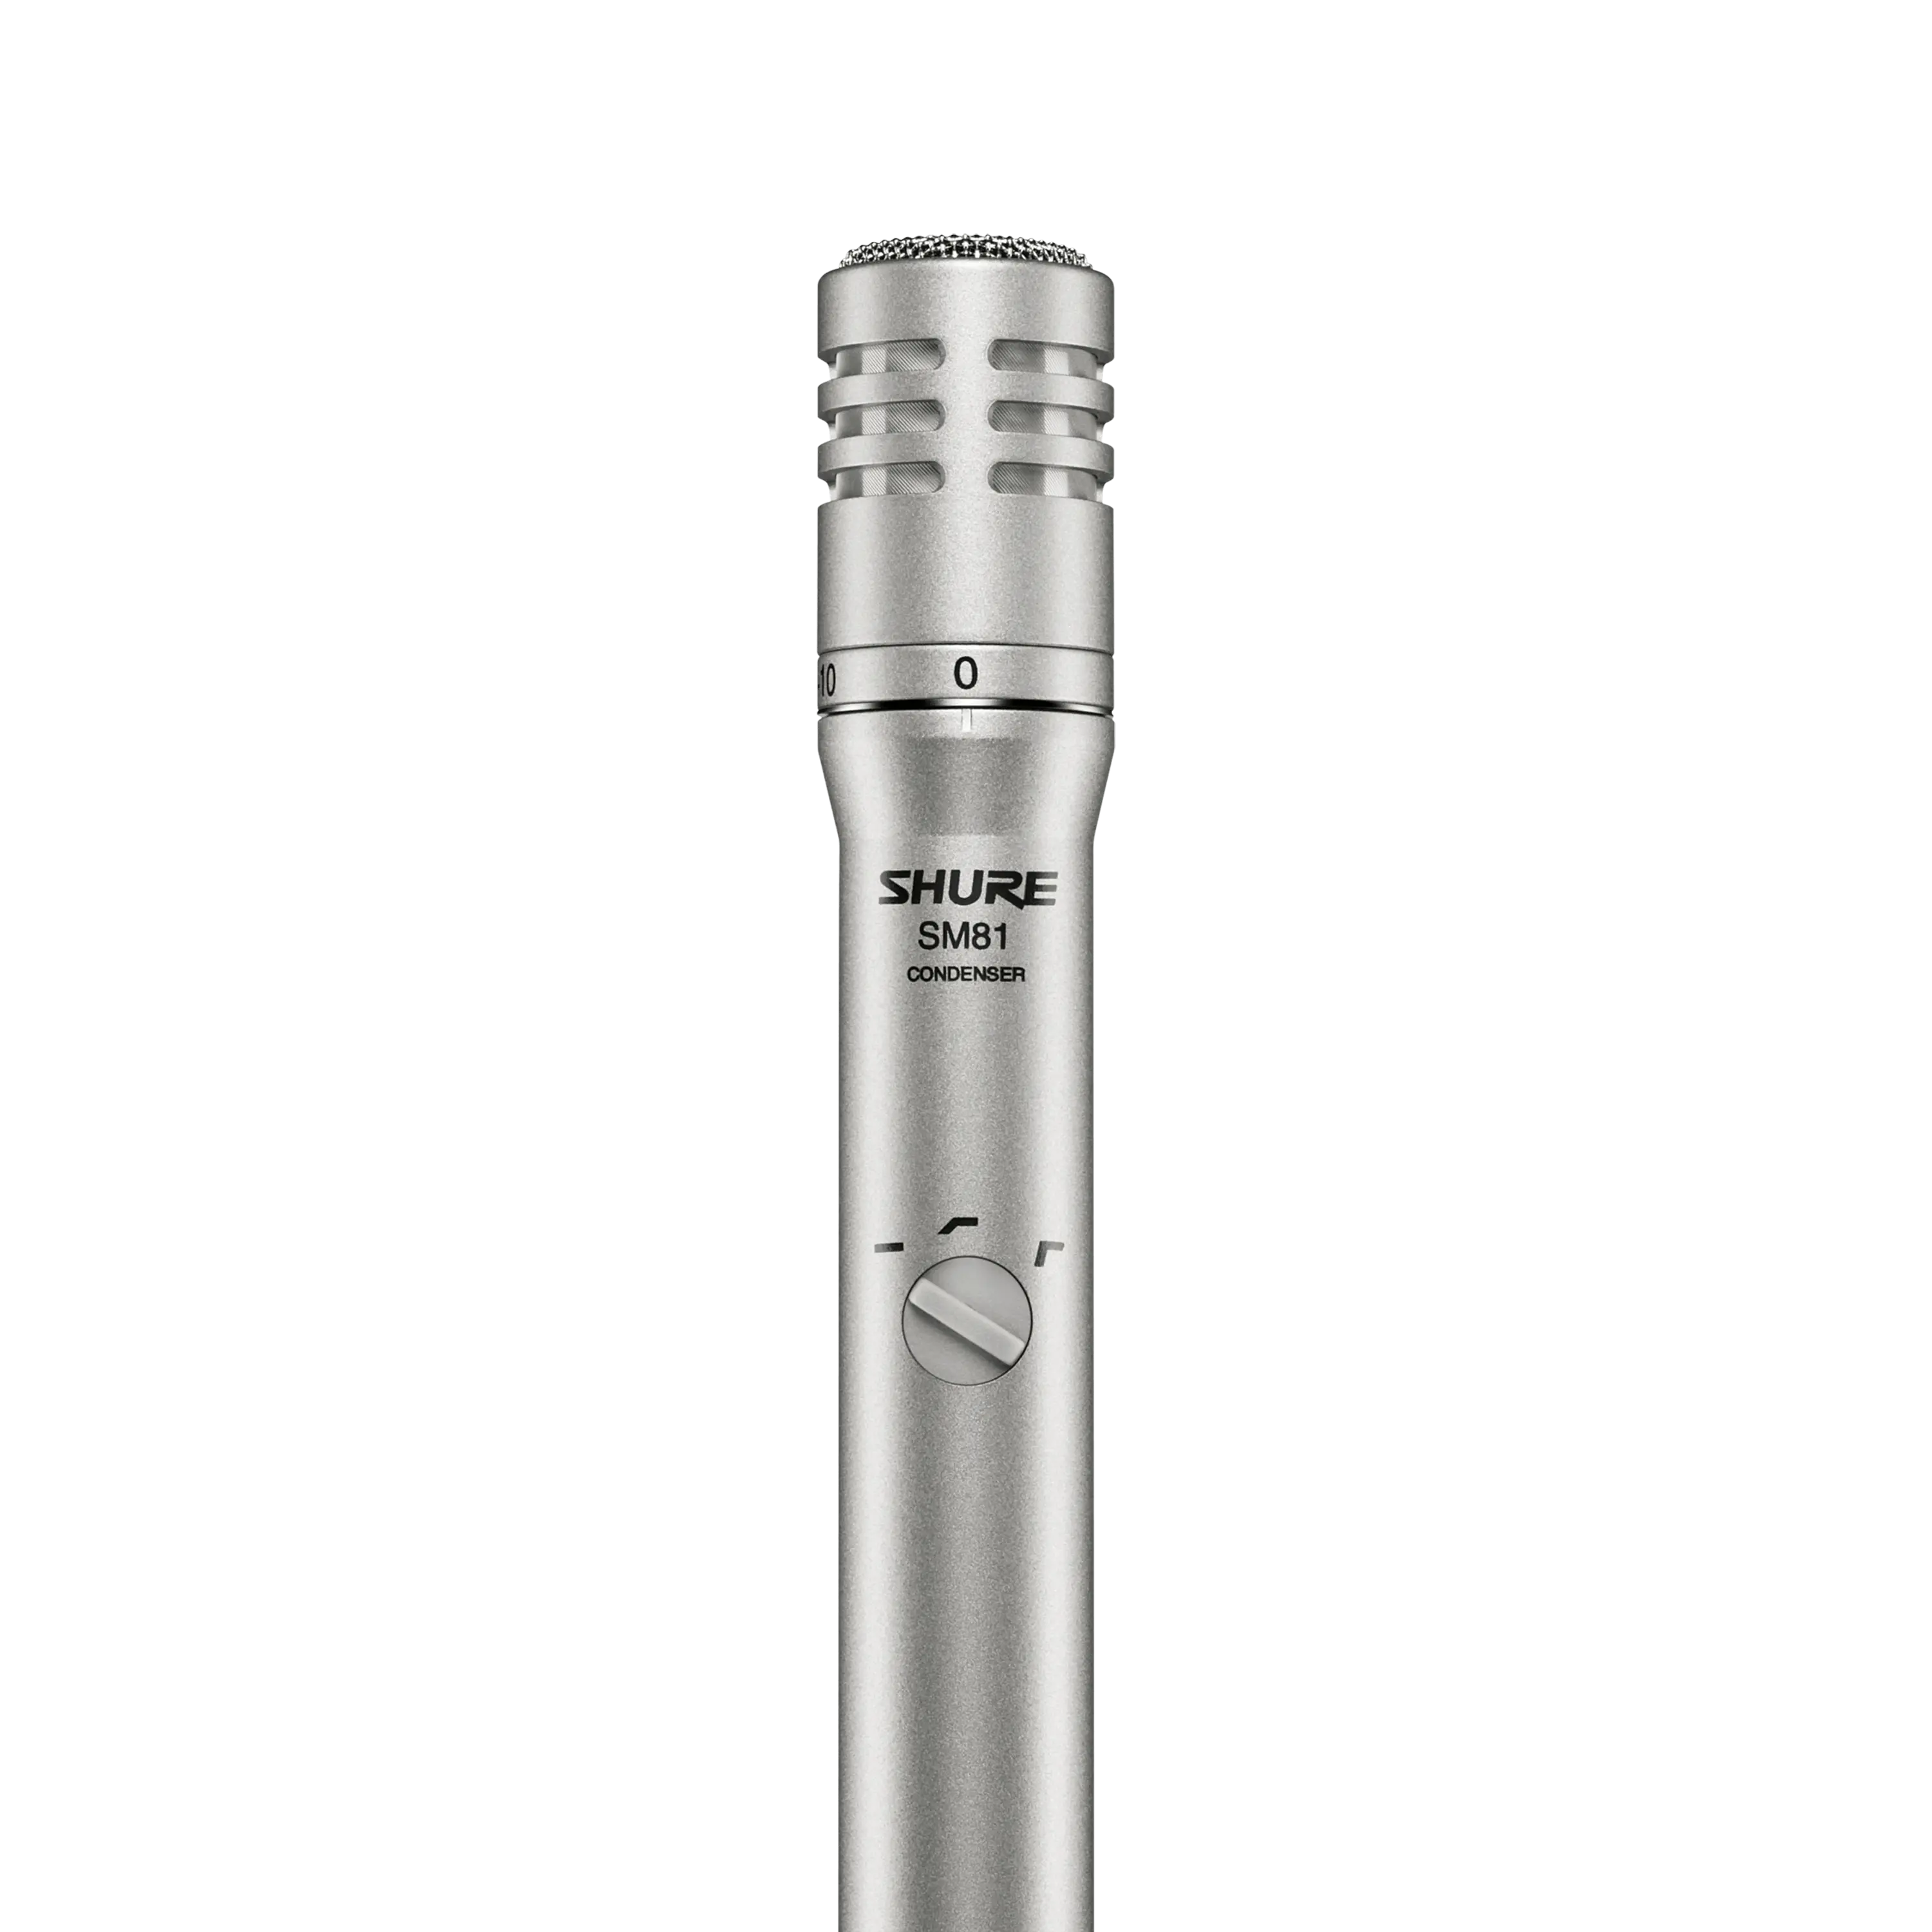 SM81Condenser Instrument Microphone
Related Blogs

From the the SM58 to Nexadyne: 60 Years of Iconic Sound
In the 60 years since its inception, the SM58 has become an audio icon that’s still inspiring Shure engineers to continue pushing the boundaries of microphone technology. From the SM7dB to the new Nexadyne family, discover how the innovation continues.


