Vocal Miking Tips


Bill Gibson has spent the last 30 years writing, recording, producing and teaching music. He is well known for his production, performance and teaching.
Bill is Developmental Editor for Hal Leonard Performing Arts Publishing Group, President of Northwest Recording, serves on the National Advisory Board for the P&E Wing of the Recording Academy, is an instructor for Berklee College of Music and the Art Institute of Seattle. He has authored over 30 books, including his most recent book with Quincy Jones (Q on Producing) and his upcoming work with the legendary Bruce Swedien (The Bruce Swedien Recording Method).
1. Does the directional characteristic make a difference in the sound of the mic?
Absolutely!
Omnidirectional Mics hear equally from all directions, not rejecting sound from anywhere in the 360-degree sphere around the capsule. They have an open and natural sound and they're used frequently in the studio when the engineer wants to include the sound of the room in the recording.
The danger in using an omnidirectional mic is that any room sound (ambience) that is recorded is there to stay. For most people it's safer to record with a more directional microphone (cardioid or hypercardioid) and add any ambient sound artificially during mixdown. However, in a controlled and well-tuned acoustical environment, an omnidirectional mic is frequently the way to go because the close-miked vocal sound it captures is more open and less cluttered in the low and low-mid bands than a cardioid mic used in the same way. A singer who moves in very close to the omnidirectional mic sounds very intimate while retaining a more natural and clear tone.
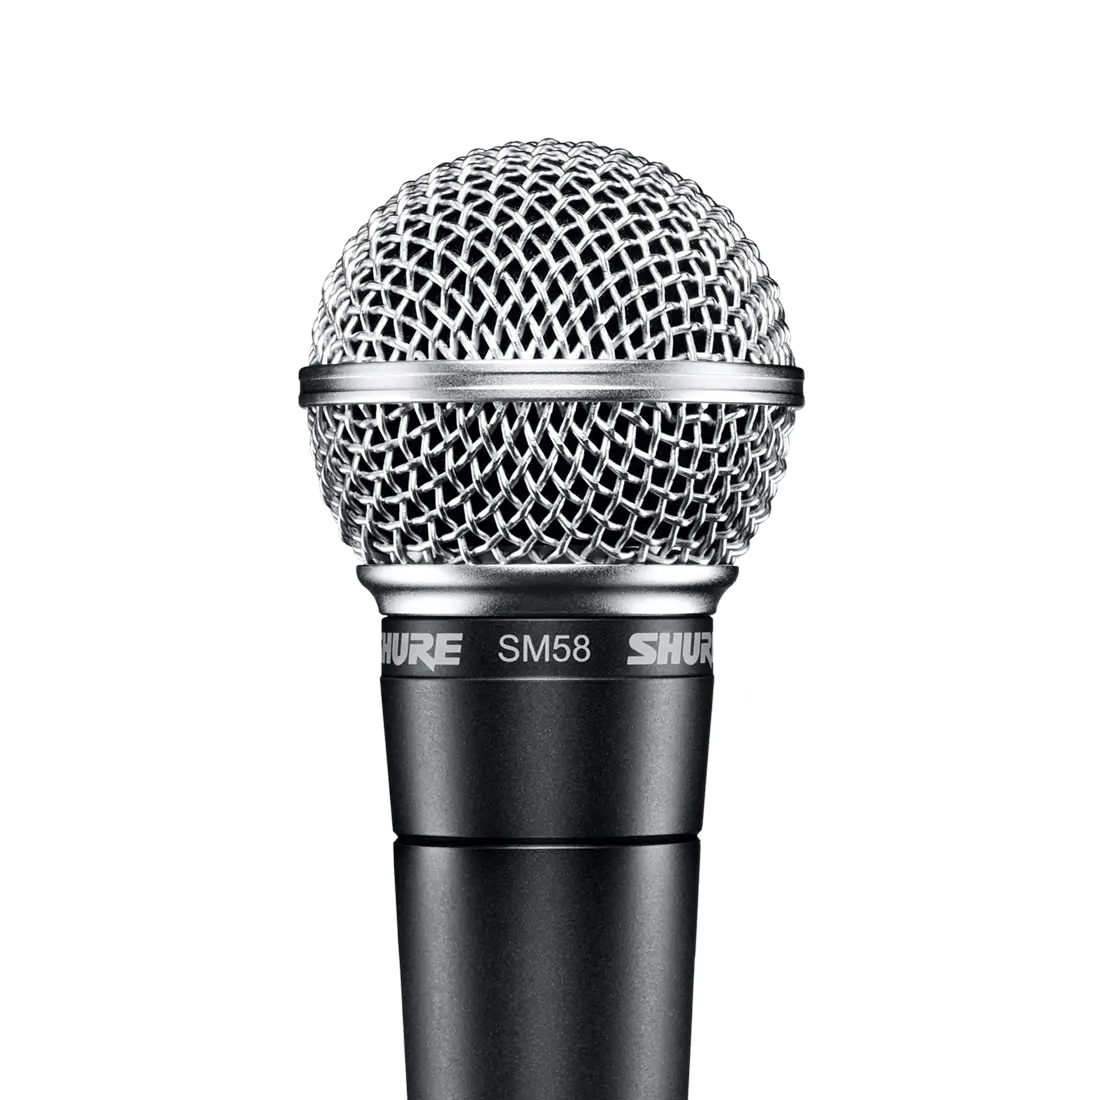
Cardioid Mics directional characteristic prefer the front of the microphone (on-axis) and they reject sounds coming from behind the mic (off-axis). Microphones with cardioid polar patterns, such as the Beta 58 or SM58®, are typically better suited to close- than distant-miking applications. These mics exhibit frequency response characteristics that roll off in the low band to compensate for their susceptibility to the proximity effect—the boomy, bass-heavy sound we hear when a voice or instrument is extremely close to the mic (within less than a couple inches or so). Because they prefer the on-axis sounds, they help reduce the relative levels of room ambience and other sounds that are off-axis.
Bidirectional Mics are most sensitive to sounds in the front and back of the mic but they exhibit almost complete reject of sounds that come from the sides. Some large-diaphragm condenser mics, such as the KSM44, can be set to bidirectional configuration and ribbon mics, such as the KSM353 and KSM313, are naturally bidirectional. These mics are well suited to miking solo instruments or voice, but they also provide an efficient and convenient way to close-mike two vocalists—or other instruments—at the same time. Bidirectional mics exhibit the most extreme proximity effect, in comparison with cardioid and omnidirectional mics. Therefore, the close-miked sound they provide is sometimes too boomy and full to be useful. From a more distant perspective, however, bidirectional mics provide a very nice, full tone, which includes a little more acoustical ambience than a similar cardioid mic.
In a live sound reinforcement application, omnidirectional mics are the most prone to feedback. They don't reject sound from any directional and are inappropriate for most applications. Also, keep in mind that floor and stand monitor positions are usually different depending on the mic choice. When using a cardioid pattern, there is usually less feedback with the monitor directly in front of the vocalist. When using a hypercardioid pattern, the monitor should be placed slightly to one side or the other in front of the vocalist for minimal feedback. If you look at the polar response graph for the specific mic, you'll notice exactly where the mic is least sensitive—that's the right spot for the monitor.
A mic like the KSM9 is a great choice for vocals in a live setting. It sounds like a studio condenser mic and it offers pattern selection between cardioid and hypercardioid. The flexibility provided by selectable patterns makes a mic that would already be exceptional, even better.
Keep in mind that every singer is different. If you have a choice of mics and directional characteristics, simply select the pattern that sounds best for the vocalist or choose the pattern that provides the best feedback rejection. In the studio, a mic like the KSM44 is an excellent choice because the selectable pickup patterns let the engineer choose the texture, tone, and feel of the vocal track by simply changing between any of these directional characteristics.
2. Is handling noise really an issue? Aren't all mics about the same?
Yes. Handling noise is an important issue, especially in a live setting.
Many studio mics aren't designed to be handheld. They're placed in specially designed shock mounts that protect them from vibrations, bumps, and thumps. However, mics that are used in a live handheld environment must contain ample internal shock mounts and vibration control.
If you line up ten different mics on stands, you're likely to notice dramatic differences in the sound caused by simply removing each mic from its clip. Some mics even rumble in normal handheld use. They don't sound good although they don't sound terrible, but the amount of handling noise they produce makes them completely unusable. Just shifting the mic in your hand causes a dramatic rumble—the sound of putting them in and out of the clip is unacceptable.
Mics that exhibit excessive handling noise also pick up excess amounts of noise from anything that moves on, or vibrates, the stage, such as footsteps, the kick drum, the bass cabinet, dancing, and so on. One of the reasons for the popularity of the SM and Beta series mics from Shure is excellent design of their internal shock mounting systems and their minimal handling noise.
3. How close should the lead vocalist be to the mic?
This question is usually borne out of the frustration that the sound operator feels when working with a singer who has bad mic technique.
It's common for an inexperienced sound operator to tell the singers to just stay close to the mic (within an inch or less). That's definitely not the best approach, but it puts control in the hands of the sound operator.
Vocalists must learn to move closer to the mic when they are quiet and farther away when they're loud—the actual distances depend on exactly how quiet and how loud. In addition, speaking too close to the mic can decrease intelligibility and clarity. The overall volume of the house mix, the size of the audience, and the acoustics in the room are also considerations in mic technique.
Work with each singer to determine the mic technique that works the best for him or her. Determine three ranges of mic distances for three separate purposes:
- The "I'm singing background" distance—usually 1.5 to 3 inches (2 fingers to 4 fingers).
- The "I'm singing a quiet, intimate lyric" distance—usually 1 inch or less (1 finger or less).
- The "I'm really belting it out and I don't want to hurt someone's hearing" distance—usually 6 inches to arm's length, depending on the singer, the song, the instrumentation in the band, and the size of the room.
4. Our lead singer gets lost in the mix and yet there are times when she's way too loud. How can I get a smooth and even vocal sound, like the sound I hear on professionally produced recordings?
Considering that your singer has good mic technique and you're riding the vocal levels to help with global differences between levels for speaking and belting, the sound you're looking for is probably a result of compression. A compressor is an automatic volume control that responds to the strength of the incoming signal. The sound operator sets a threshold level. When the signal strength exceeds that threshold, a built-in amplifying circuit—typically a VCA (voltage controlled amplifier)—turns the signal down.
A compressor is essentially an automatic sound operator. Like you, it turns the signal down when it's too loud and then back up to where it started when it's not too loud. The attack time, release time, and ratio controls let you determine whether the compressor acts like a Masserati or the giant in Jack and the Beanstalk.
Compressors only turn the signal down—they don't boost levels. However, the effect of compression is to enable the nuance in the vocals to be heard better. Because the loud parts are turned down, the entire channel can be turned up. The gain reduction meter indicates the amount of gain reduction. If it shows that the channel is being turned down by 6 dB at the loudest parts of the performance, then the entire channel can be boosted at the channel fader or at the "Makeup Gain/Output" control on the compressor. This results in the loud passages being the same volume as they would have been but the softer passages, vocal nuance, and emotional inflections have been turned up by 6 dB—they are, therefore, more audible to the audience.
Setting up a compressor is really pretty simple:
- Set the ratio control to determine how extreme the action is—typically between 4:1 and 7:1 for vocals. If the ratio is x:1, for every x dB that exceeds the threshold, the VCA will only let 1 dB through.
- Set the attack time—typically between 5 and 10 milliseconds.
- Set the release time—typically about 1/2 second.
- Adjust the threshold so that there are times when there is no gain reduction and times when there are about 6 dB of gain reduction.
- Boost the Makeup Gain/Output control to makeup for the gain reduction.
Often, recordings are extremely compressed. In a live setting, be aware that if the compressor is reducing the gain substantially during a performance, once the performance is over, the VCA will let the signal return to its original level—this can easily cause massive feedback. The amount of compression you use in a live performance is dependent of the amount of gain before feedback in your system. In a live application, it's usually best to compress by 6 dB or less.
5. Should I always buy a mic with a flat frequency response curve?
No. Part of the reason for differences in response curves is the intended application. If you use a mic with a flat frequency response on a live, close-miked vocalist, the sound will be thick and muddy because of the proximity effect. If you use a mic that's designed for close-miking, for instance, a distant mic on an acoustic ensemble, the sound will be far too thin and weak.
The SM58® or Beta 58 have frequency response curves that roll off in the low end with a presence peak in the high end. This fact doesn't make it a lower quality mic than a mic like the KSM32 or KSM141 that exhibits a flat frequency response—it just makes them better suited to close miking than distant miking.
When a handheld vocal mic is close to the singer's lips—within a few inches—the proximity effect rounds out the lows so they are essentially flat. Low frequency response is determined by mic distance. The built-in presence peak helps provide a clear and understandable vocal range. Notice that these presence peaks are typically between 4 and 7 kHz—strategically positioned in the range of vocal sibilance and intelligibility.
Mics with a flat frequency response curve are best suited to distant-miking applications in which the mic is a foot or more from the source, and yet a full sound is desired. Many condenser mics exhibit a very flat frequency response; however, they often provide a low frequency roll-off switch to compensate for the proximity effect when used in a close-miking application.
6. What's the difference between miking a vocalist in a live performance and miking a vocalist in the studio?
The difference is really much less than it used to be before the KSM9.
In a live setting, we use vocal microphones designed for close-miking. They have historically been moving-coil mics because of their dependability, ruggedness, and simplicity; however, moving-coil mics don't capture the fine transient detail as accurately as condenser mics.
In the studio we have historically used large–diaphragm condenser mics for vocals. Since the acoustics are controlled in a studio and leakage isn't a consideration, most studio vocals are recorded from a distance of 6 to 12 inches. Sometimes, the singer moves closer, but the mic might be set to an omnidirectional configuration so the sound isn't too thick and muddy or the low-frequency roll-off might be applied to compensate.
The vocal sound is adjusted by moving the mic across a much greater distance range than in a live setting. In addition, many professional studios have excellent acoustics—the sound of the room blends very well with the vocal to provide a desirable character and personality.
The KSM9 utilizes a studio-quality condenser capsule that provides the type detail that's expected in a studio sound. It is housed in a body that feels good in the hand and the capsule sits in a well-designed shock mount system—it sounds great and rejects handling noises and vibrations very efficiently.
New for 2012: Bill's "The Ultimate Live Sound Operator's Handbook: 2nd Edition," a 428-page book, including a DVD full of excellent audio and video examples.

In addition, Bill recently released "Q on Producing," the first of three books he's writing with the legendary Quincy Jones.