
Videography Microphones
Make Your Video
Sound Extraordinary
Sound Extraordinary
USB-C Microphone for
iPhone and Android
iPhone and Android
Two-channel Wireless
Lavalier Microphones
Lavalier Microphones
Wireless Stereo
Microphone
Microphone


Recommended Products
 MV88USB-C Stereo Microphone
 MoveMic 88+Wireless Video Microphone
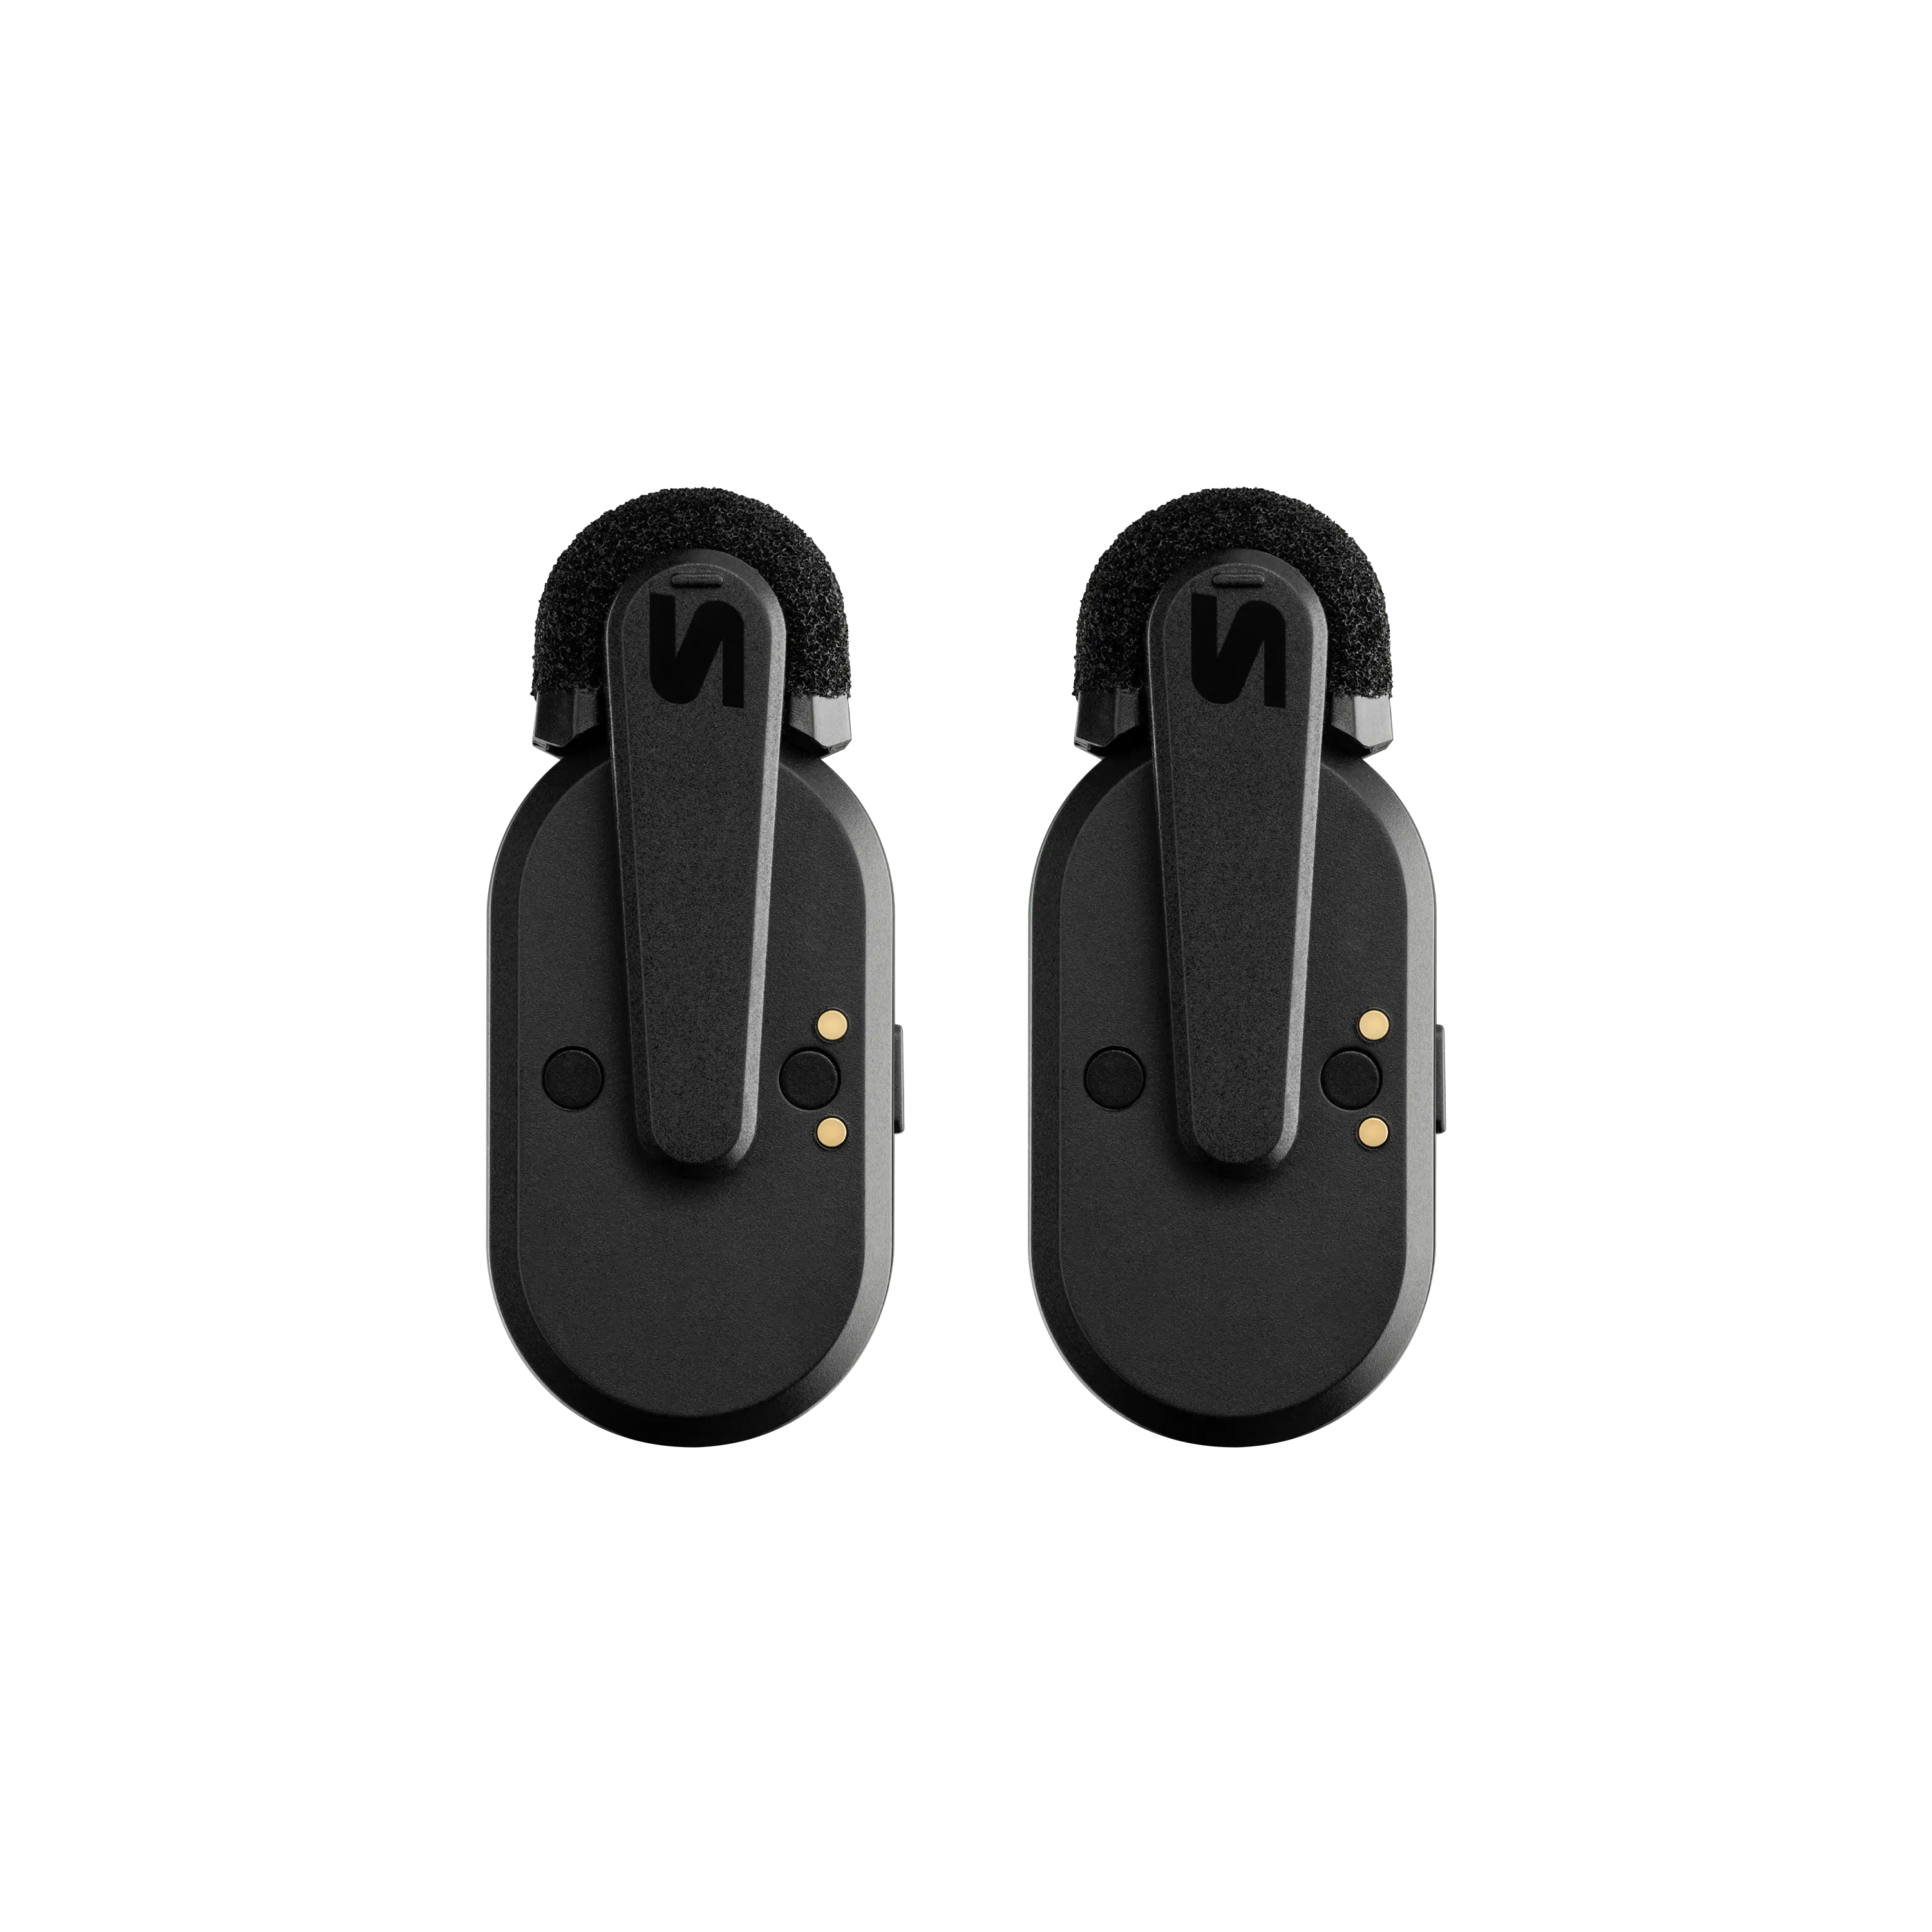 MoveMic TwoTwo-Channel Wireless Lavalier Microphones
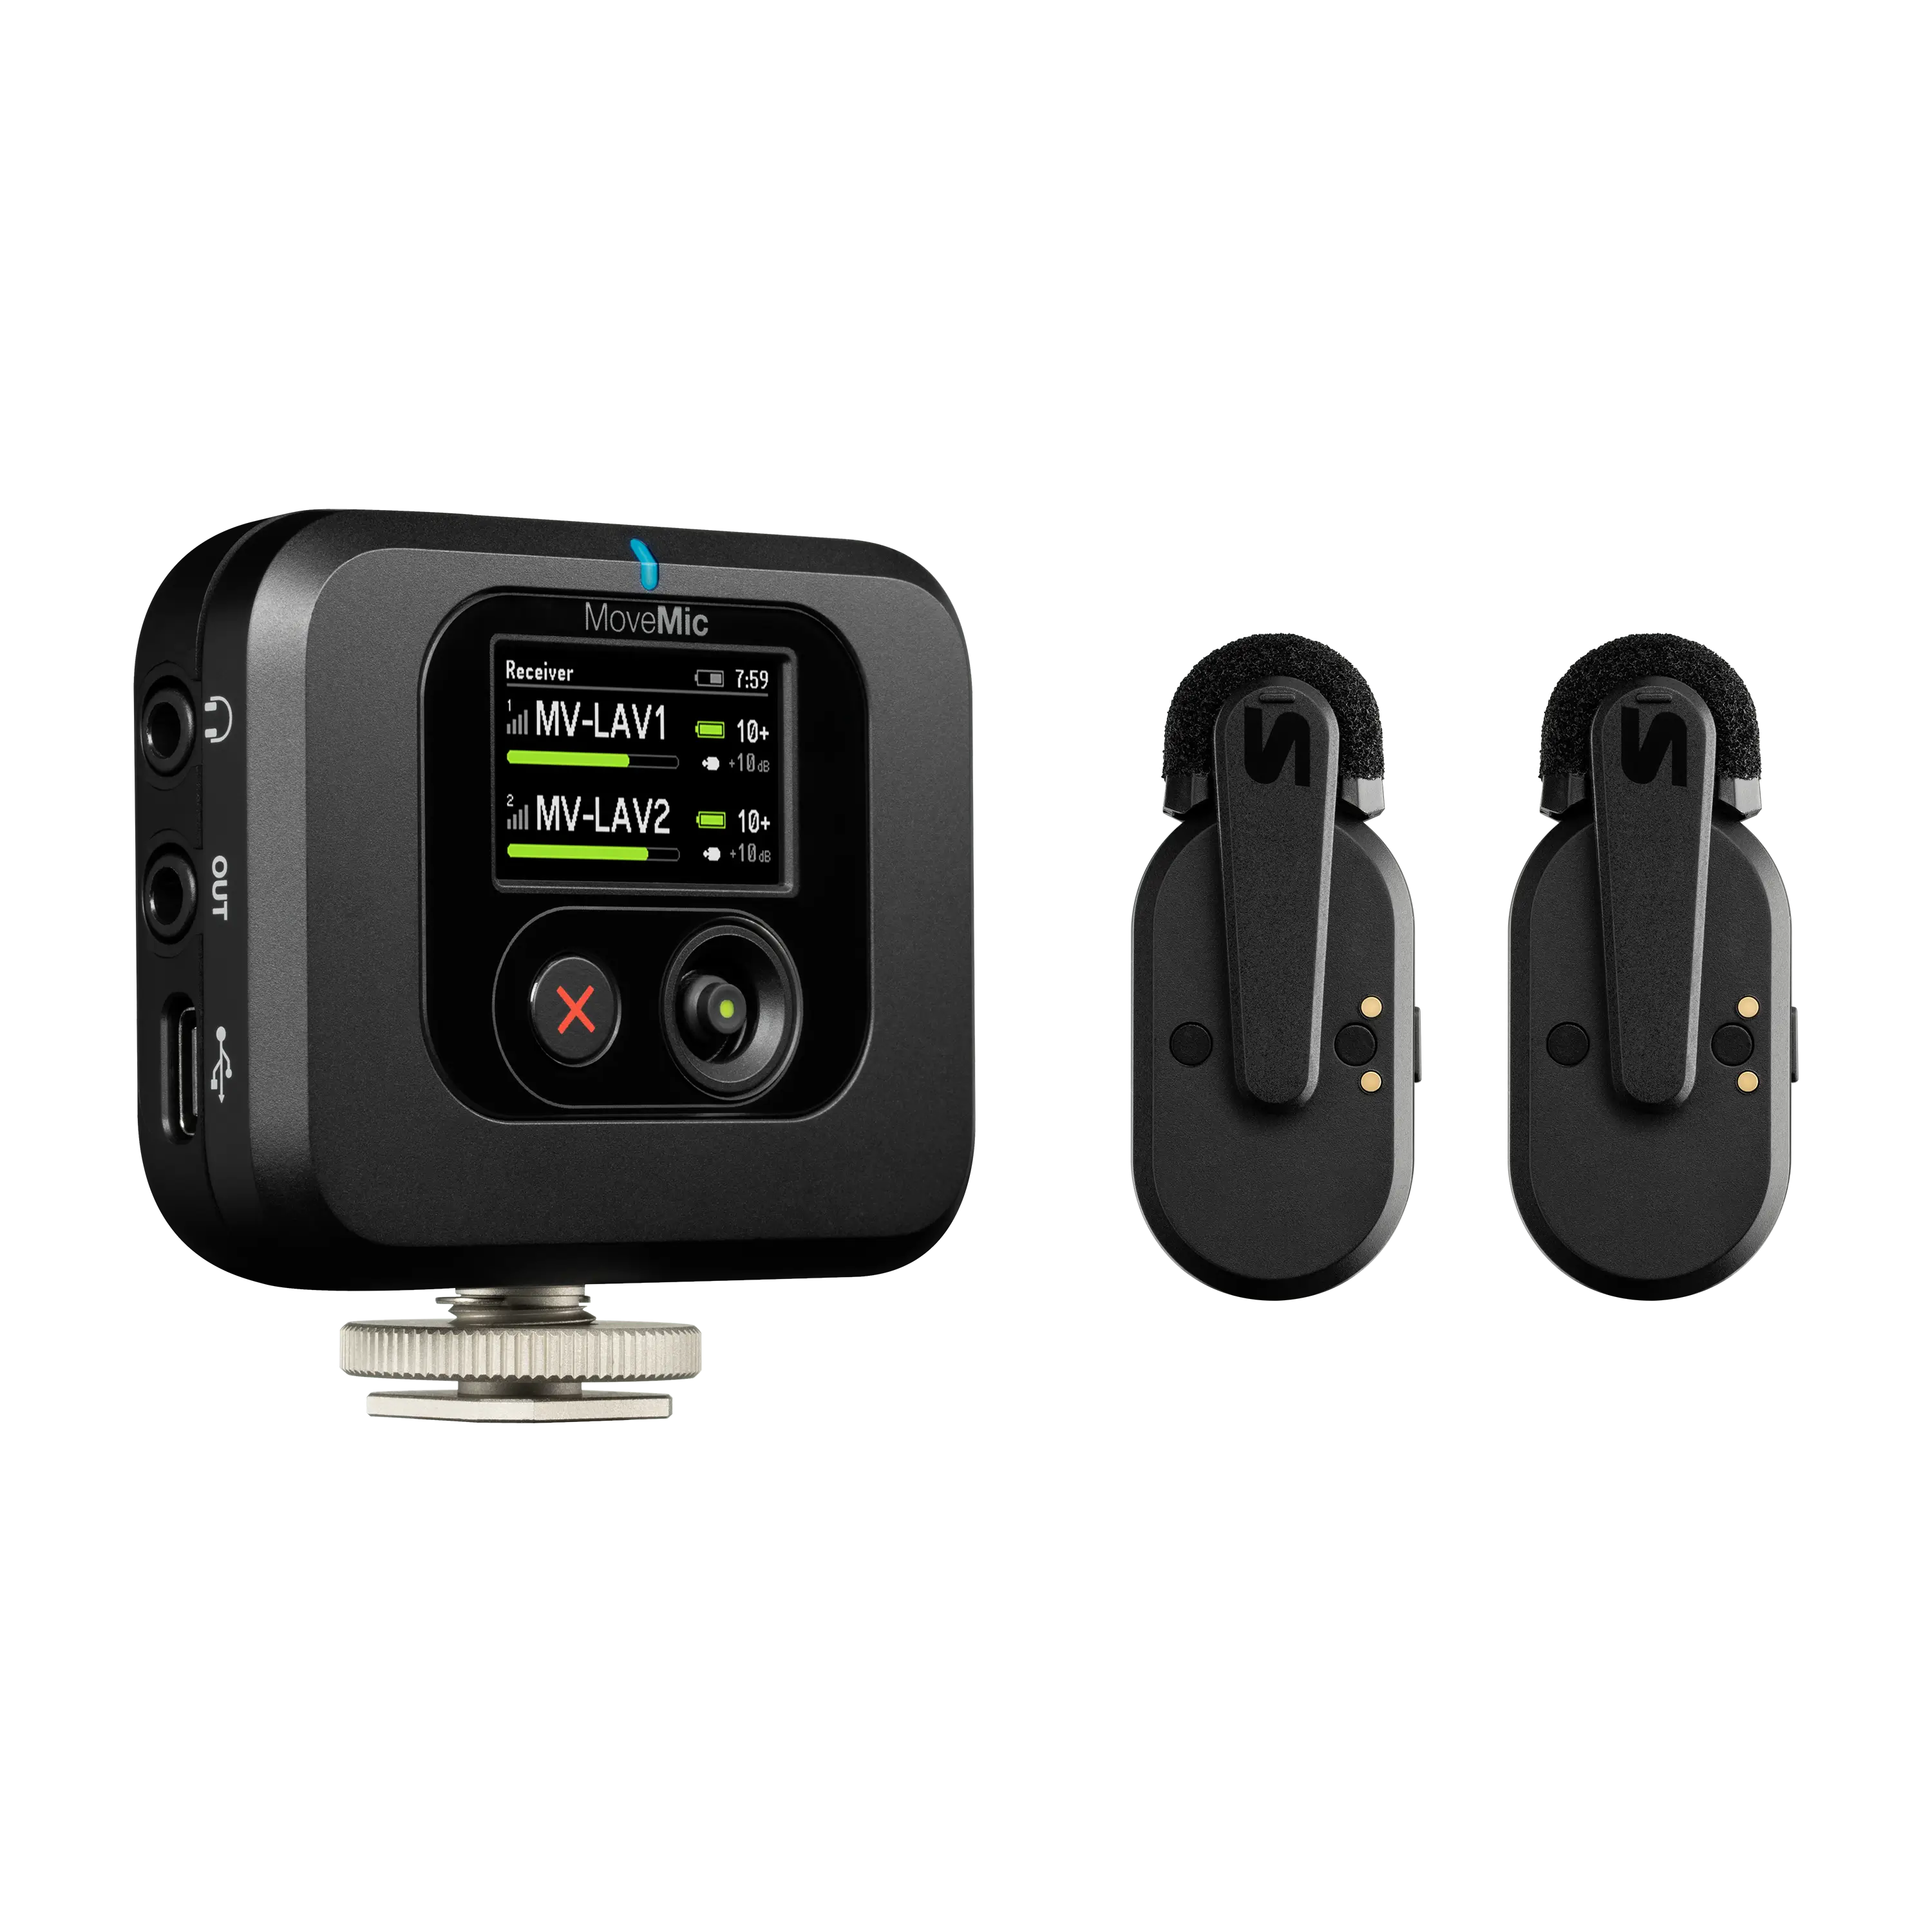 MoveMic Two Receiver KitTwo-Channel Wireless Lavalier Microphone System With Receiver
 MV88+ Video KitStereo Condenser Microphone
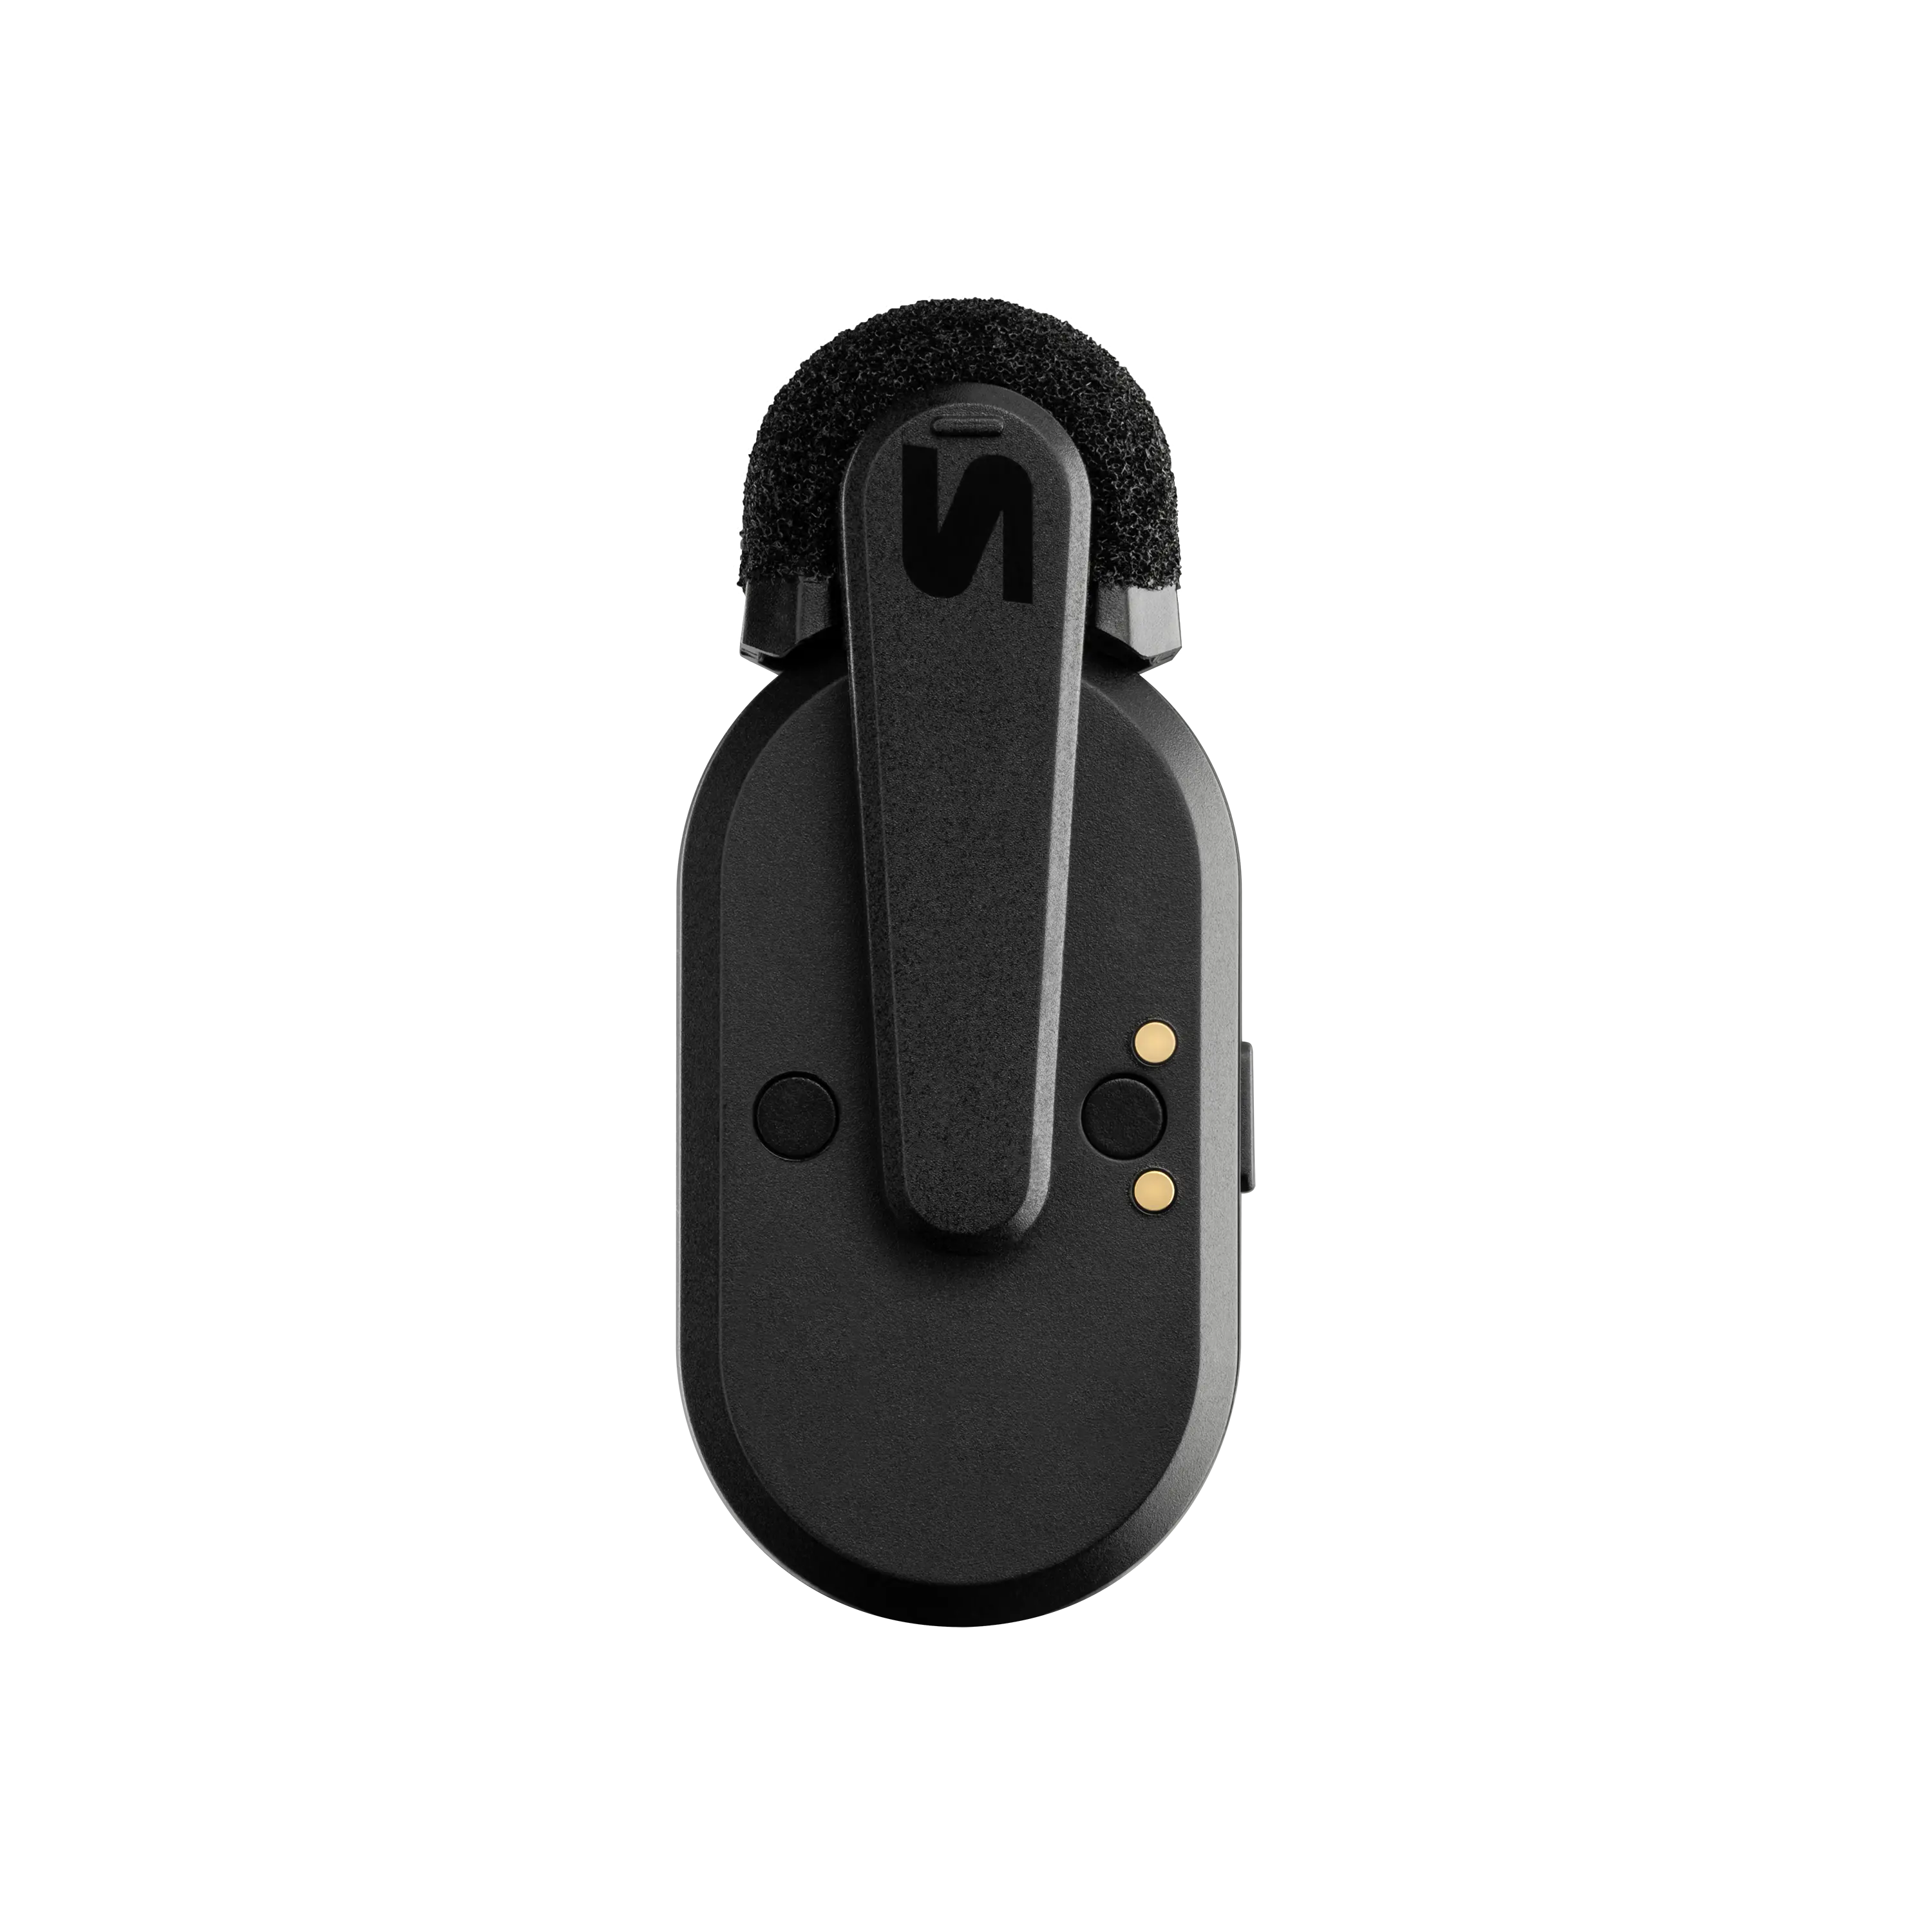 MoveMic OneSingle-Channel Wireless Lavalier Microphone
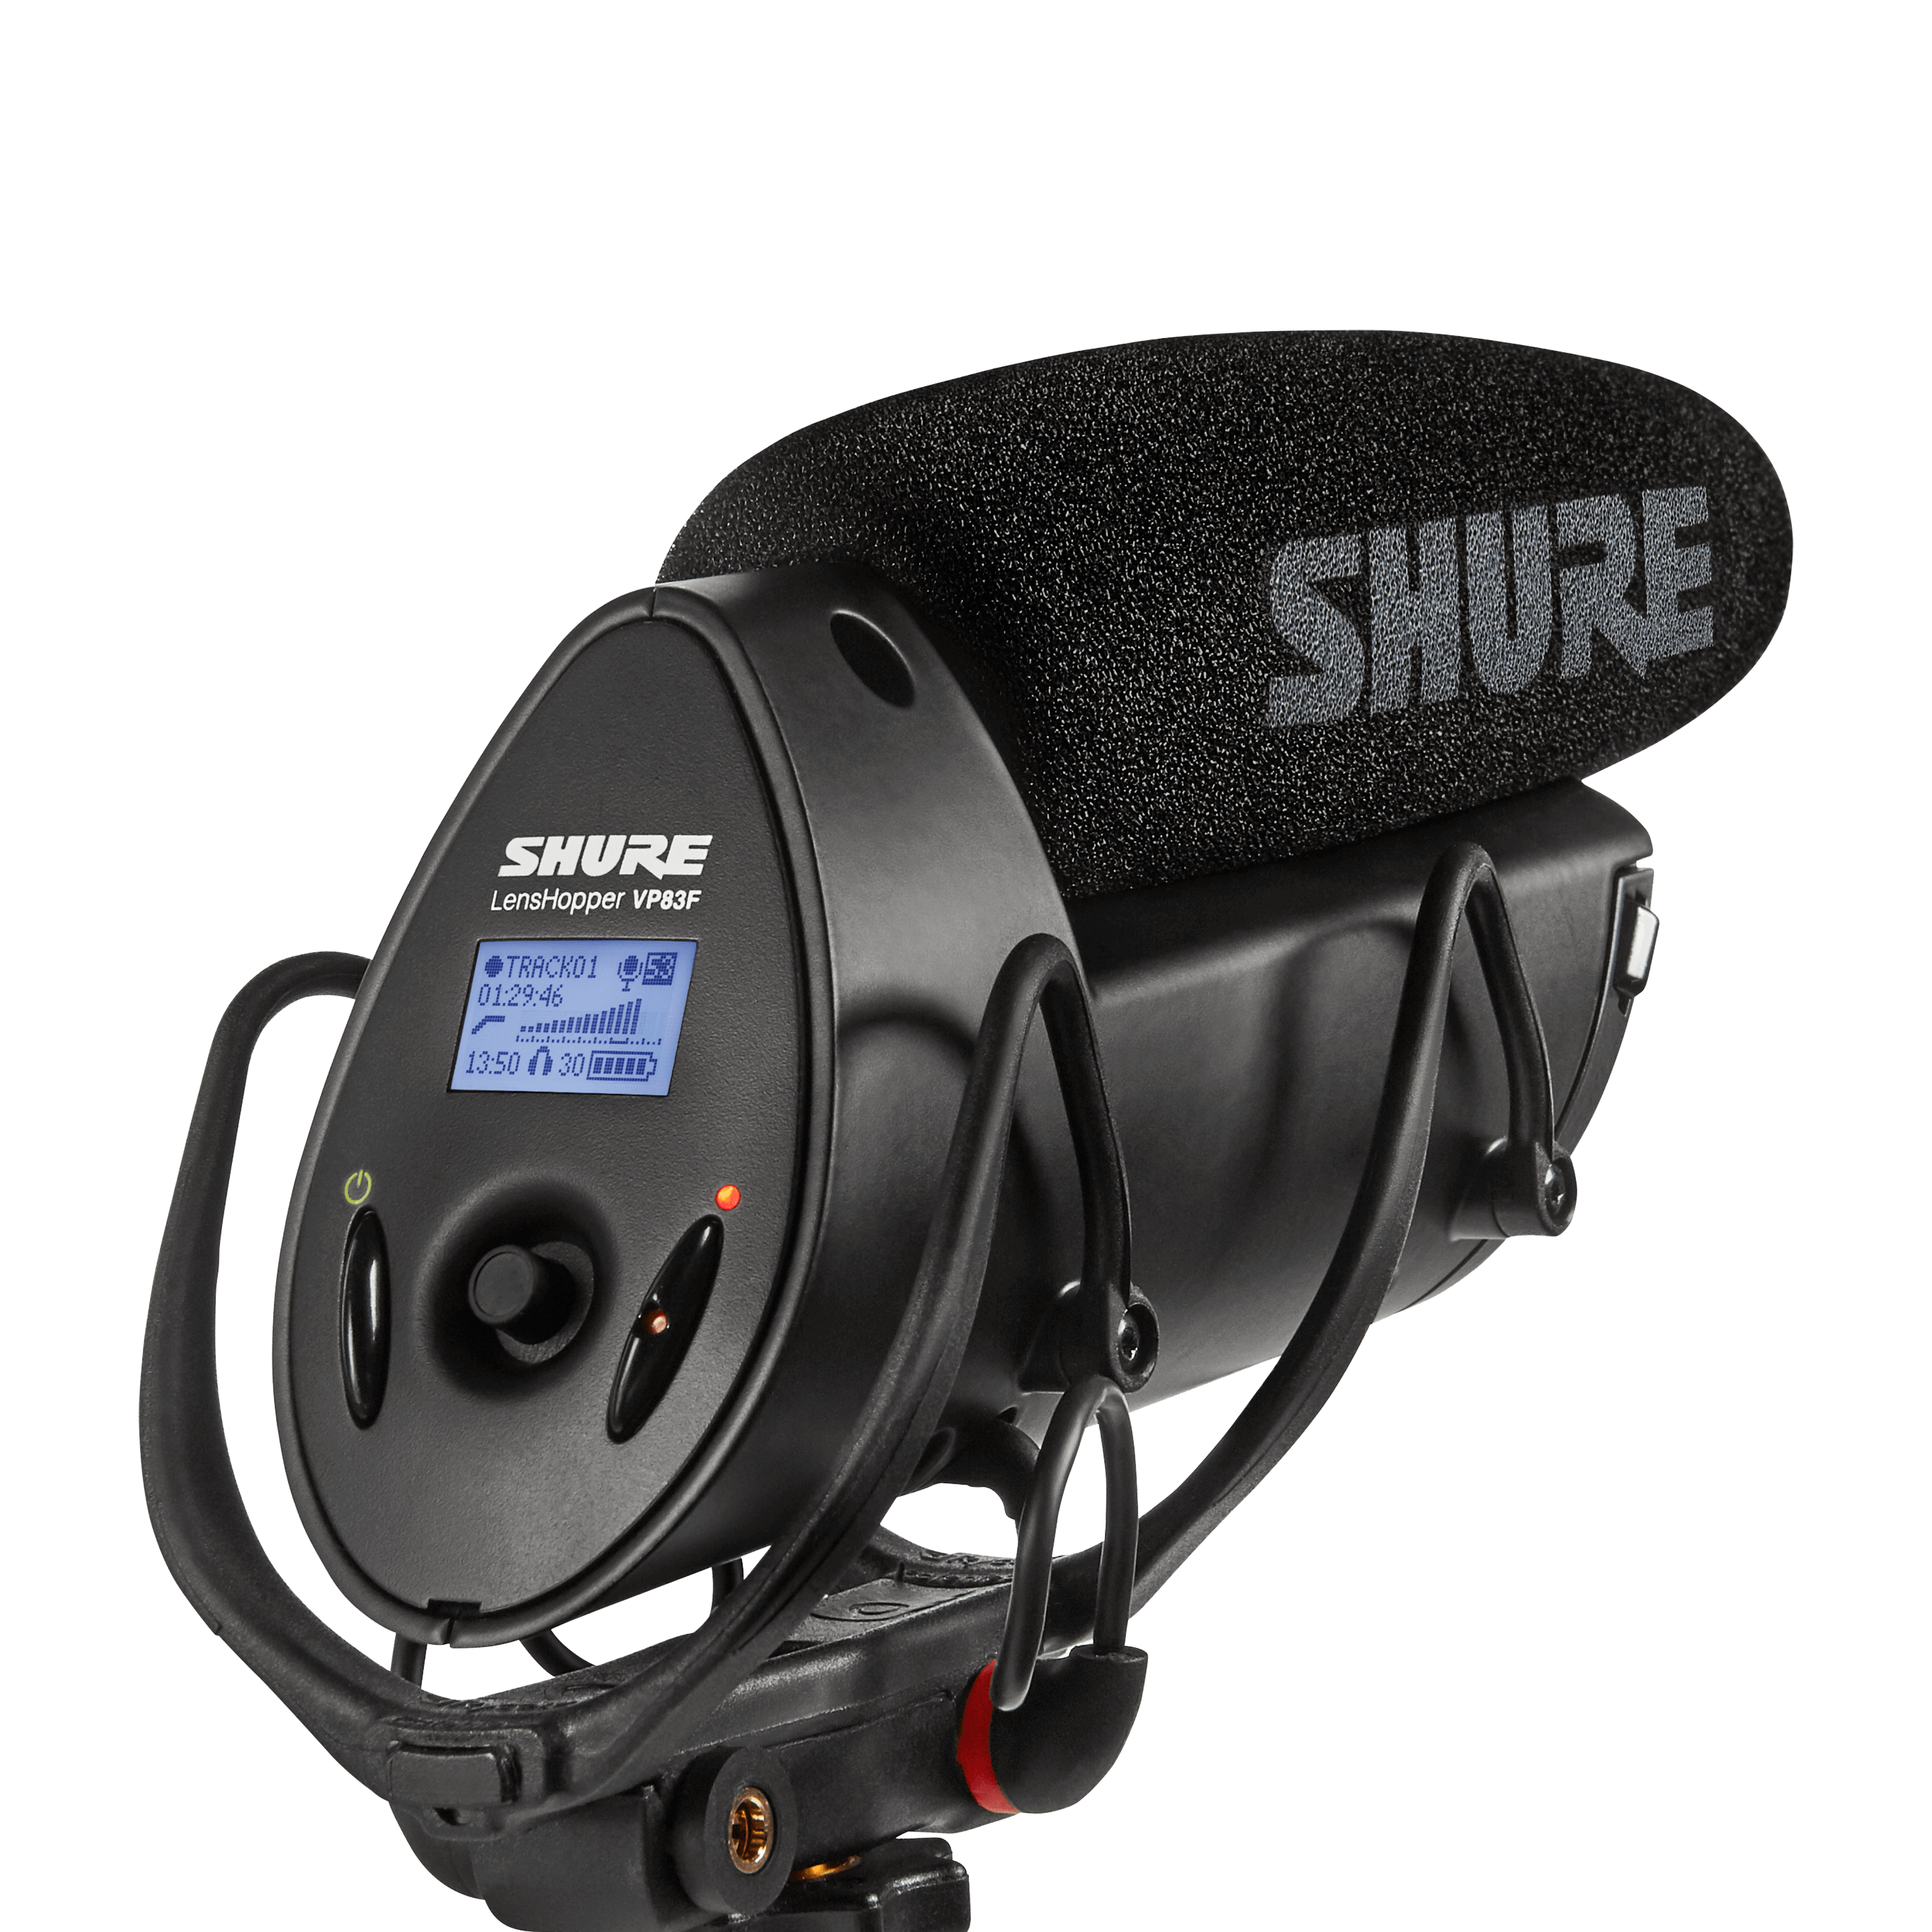 VP83F Lenshopper™Camera Mount Microphone With Flash
 VP83 Lenshopper™Camera Mount Microphone

Recording Wildlife Audio in the Jungles of Calakmul With MoveMic 88+
From bellowing howler monkeys to a massive bat volcano, capturing wildlife audio in Mexico’s Calakmul jungle is incredibly challenging. Shure has partnered with the Emmy-nominated documentary filmmaker Emiliano Ruprah to raise awareness of this unique ecosystem and the life it supports.
Ready to Upgrade Your Experience?
Need Additional Assistance?
Why buy from Shure?
(Opens in a new tab)
Expert Tech Support
Support from Shure experts, every step of the way.