How To Design Your Hyflex Classroom

HyFlex classrooms aren’t just a temporary blip on the radar – most studies in education for the last few years have concluded that many aspects of distance learning are beneficial for learning goals for students of all ages. The Learning Innovation Exchange of England had this to say in a recent literature review: “A systematic literature review on synchronous hybrid learning (Raes et al. 2020) confirms the potential of synchronous hybrid or blended learning environments. This research suggests cautious optimism but concludes that hybrid learning has true potential to create more flexible, engaging learning environments, when implemented effectively. (Raes et al. 2020).”
The key phrase in that quote, “when implemented effectively”, is what many schools are struggling with now. Classrooms and lecture halls are still designed with only in-person attendance in mind, and the ad hoc remote schooling solutions cobbled together during the pandemic have started showing their age. For schools to really take advantage of the benefits of HyFlex classrooms, they’ll need to start giving their old, dusty classrooms a shiny new facelift. Here are some of the best practices we’ve found in working with schools all across the world.
Use A Variety Of Displays Around The Classroom

One major issue teachers run into during hyflex lessons is a lack of regular visual contact between them and their students. Many teachers feel stifled by having to stay stuck behind a number of computer monitors so they can see all of their students, which limits the amount of attention they can give either their remote or their in-person attendees.
The use of large displays in the classroom can help let teachers move around naturally during lessons while keeping an eye on remote viewers. For smaller classrooms, a couple of large displays that are networked together to create one large, continuous monitor should be more than enough to observe remote participants.
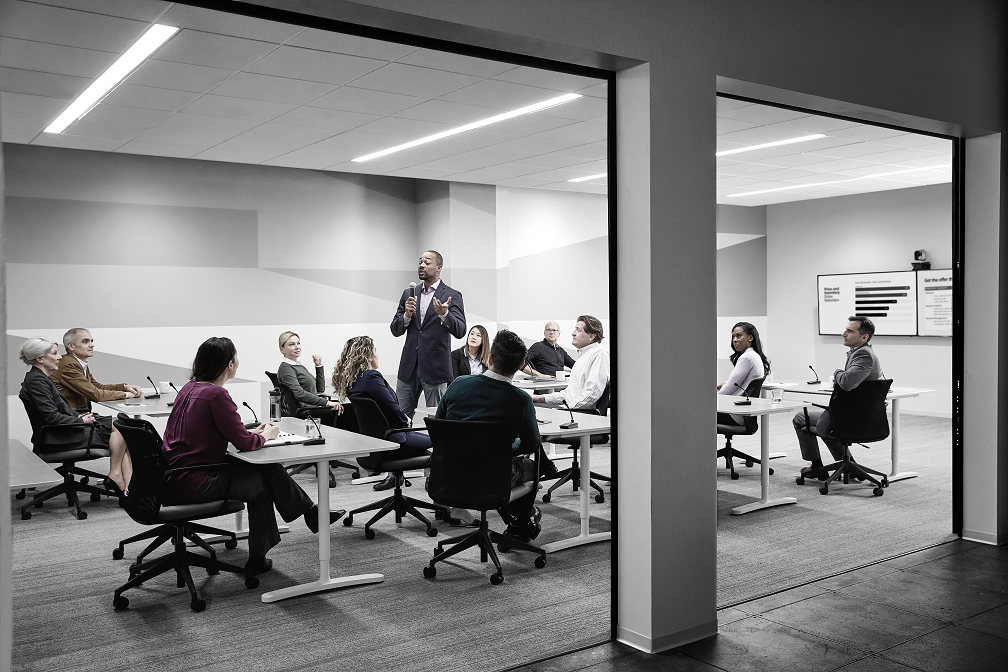
Positioning for displays in larger rooms and lecture halls is a bit trickier since there is often a tradeoff between visibility for the professor and obstruction for in-person participants. Displays can be mounted or placed on carts on the sides of the room and swiveled out after students have taken their seats. If the room allows for it, displays can even be hung from the ceiling where they’re a quick glance away for the professor and won’t block any in-person attendee’s view.
Outfit Each Room With Multiple Computers
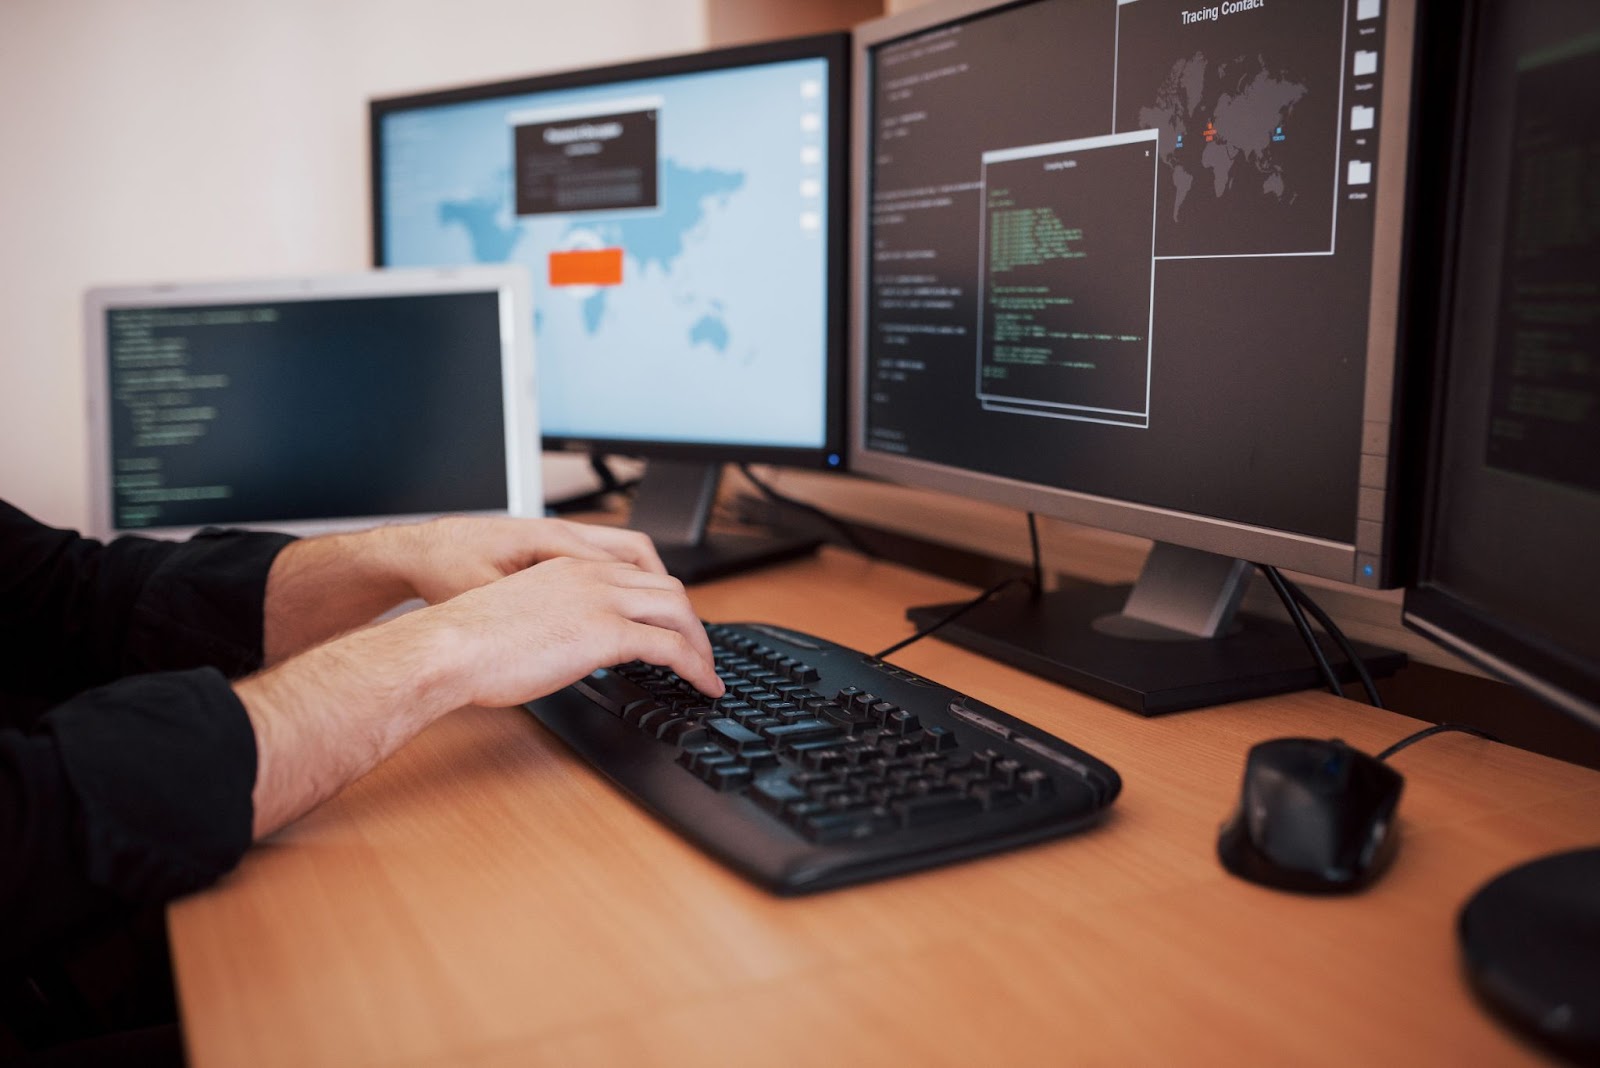
Window management during class has become something of a nightmare for many hyflex professors, who sometimes need to juggle up to 5-8 applications at a time. This causes a ton of interruptions during class as professors struggle to click from one application to the next.
There are two primary solutions offered by some teachers who have turned this educational juggling act into a science. The first is providing more monitors for professors so they can have most of the applications visible all at once. This can get really out of hand – one expert mentioned he used a full 8 monitors at once during his lessons. Turning the podium into the bridge of an aircraft carrier might sound cool, but it’s not all that practical for most teachers.
A more realistic solution is assigning multiple computers to a room, so teachers can freely move from one to the other when they need to switch applications. This means fewer windows on the screen, less clutter, and less confusion for busy teachers who already have plenty of worries on their plates.
Strategic Camera Placement
Basic webcams and phone cameras can work for remote education when teachers were often stuck at home with little more than their laptops, but hyflex classrooms need something a little more powerful. With more powerful cameras comes another problem: where do you mount them? Just like with the displays, the placement of your camera is going to depend on the size of the room.
For smaller classrooms, mounting the camera on top of the displays at the back of the room should work in most instances. Keeping the camera above the heads of in-person attendees ensures that at-home students can clearly see the teacher and whiteboard and won’t get distracted by the movement of restless students during lectures.
For larger rooms, you’ll have to get a little more creative. Mounting the camera on the first row of desks or keeping it on a tripod can work, but it can also present a distraction for in-person students. If the ceiling isn’t vaulted, you can mount the camera similar to how you would mount a projector.
Get Some Teacher-Oriented Tech
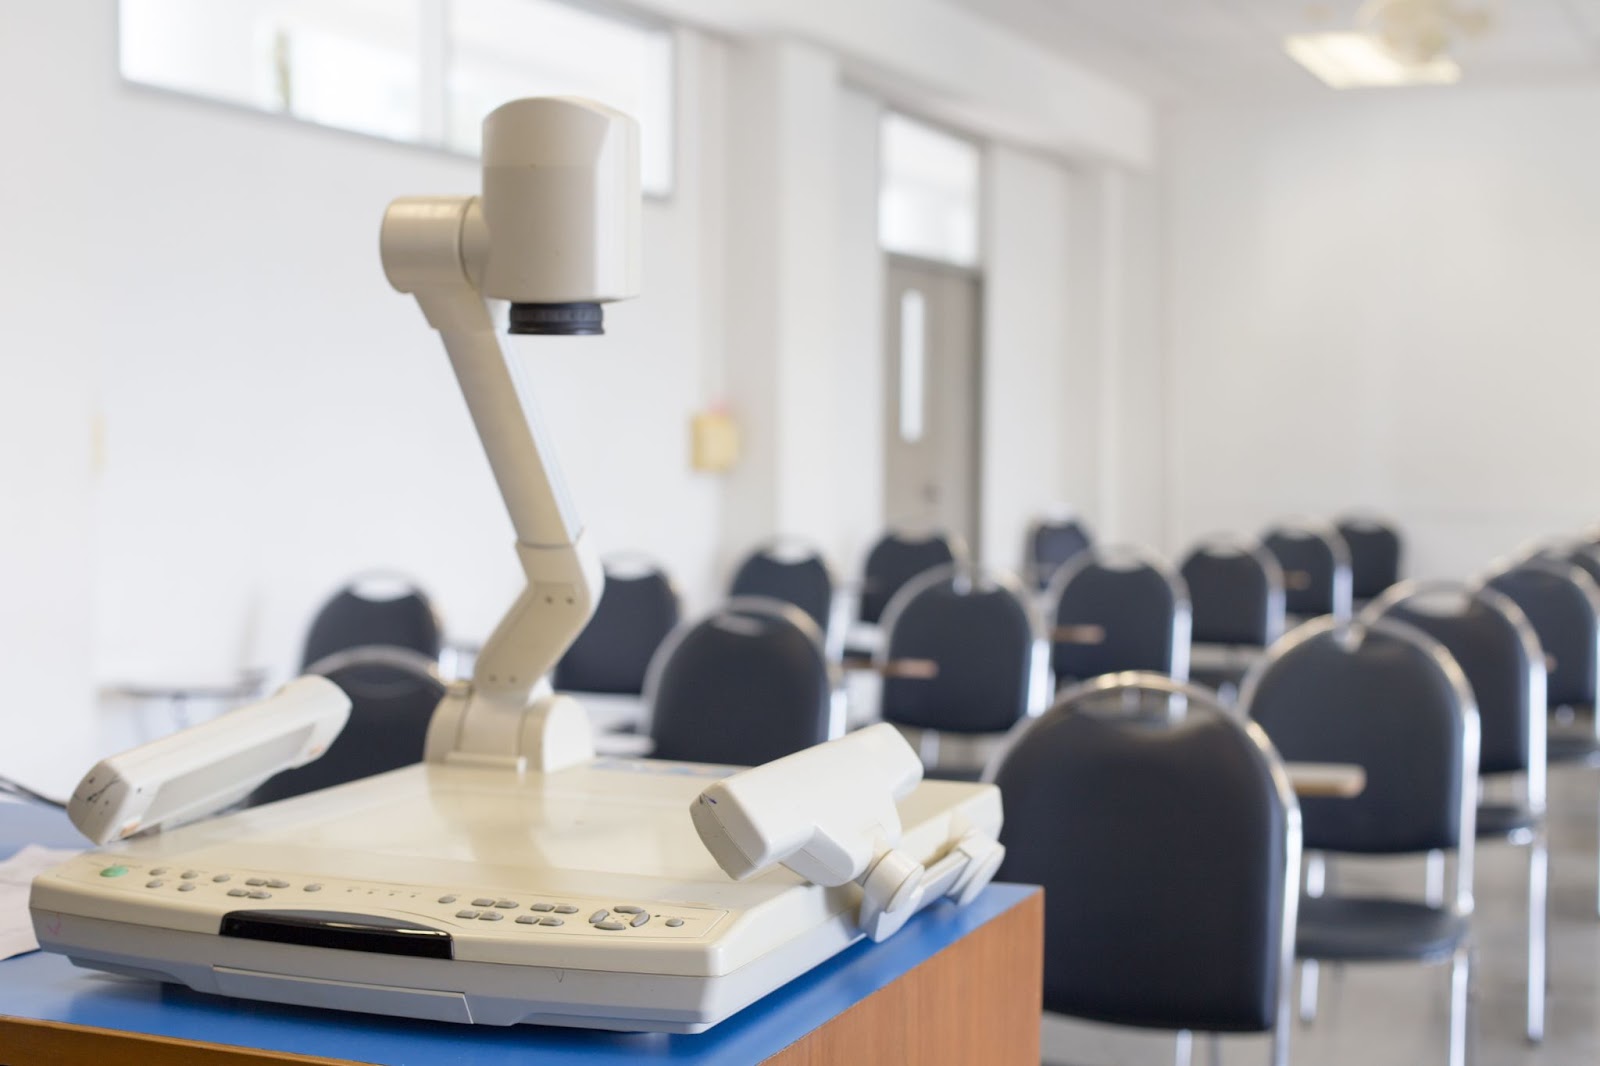
Despite major advances in technology, many teachers are still getting use out of gadgets you would have found in the 1960’s – it really is hard to beat that trusty old overhead projector. Unfortunately, many of those older tools are pretty much useless when it comes to hyflex classrooms thanks to picture quality. Fortunately, many of them have high-tech equivalents that are purpose-built to help educators create helpful visuals.
Tablet devices can serve the same purpose as the overhead projector, allowing teachers to display questions and write out equations while being projected simultaneously in the classroom and on at-home students’ computer screens. Document cameras allow at-home students to get the same visuals as their peers in the classroom who can get their hands on the subject being studied.
For IT departments trying to determine what equipment needs to be bought for their hyflex classrooms, a solid start is itemizing all of the old tools the teachers on staff regularly use during lessons and start upgrading to their next-gen descendants. Teachers will have all the tools they need to instruct effectively, and you won’t ever have to worry about fetching the projector cart from storage for the fourth time that week ever again.
Using Audio Ecosystems
Audio solutions for in-person classes and totally remote learning were simple – give the teacher a microphone, use some speakers for output, and you’re pretty much done. Now that classes are mixed, audio solutions need to broadcast not just the teacher’s voice, but also students both in and out of the classroom.
The really tricky part is finding a solution that lets remote students participate in group learning activities that help them build teamwork skills. Having students communicate through text only slows things down and creates a ton of disruptions during team exercises.
A complete solution to any-sized classroom’s audio problems is audio ecosystems, which use networked microphones, speakerphones, and speakers to create a seamless audio experience for every participant. Remote students can not only hear their teacher but participate in discussions with other students in the room.
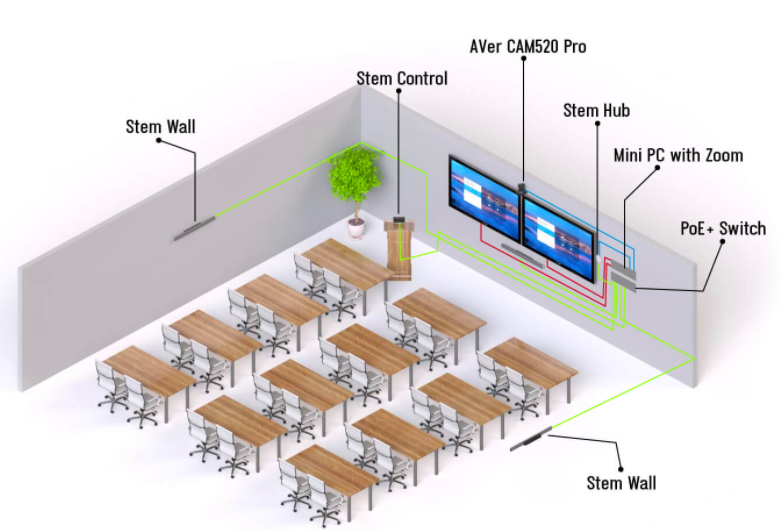
Setting up an audio ecosystem sounds like it should be complicated, but with the Stem Ecosystem, teachers or the school’s IT department can unpackage, mount, and begin using the ecosystem in a single afternoon. The Stem Ecosystem platform also comes with a ton of tools that let educators customize the coverage for their ecosystem and even strategically mute unused microphones during lessons to lessen the chance of rambunctious students fooling around with the mics.
